How to Apply Silicone Sealant Neatly and Test It Properly
A guide to applying silicone sealant neatly, evenly, and with minimal smudging, while also showing how to test silicone sealant quality through adhesion, drying time, elasticity, and shrinkage, helping you choose the right sealant for each application.
A neat silicone sealant bead does not depend only on the installer’s skill. Whether the bead is even, smooth, firmly bonded, and color-stable depends greatly on the quality of the sealant being used. Therefore, when learning how to apply silicone sealant neatly, you should not focus only on how to hold the caulking gun, cut the nozzle, or smooth the bead. More importantly, you need to know how to check the silicone sealant before, during, and after application.
In practice, some sealants may look quite good right after application. The surface appears glossy and easy to smooth. However, after a short period of time, the sealant bead may begin to shrink, lift at the edges, crack, discolor, or lose its airtightness. These problems often come from choosing the wrong type of sealant, failing to properly clean the surface, or using a sealant that is not suitable for the application material.
This article will guide you through an easy-to-apply method for creating a neat silicone sealant bead. It will also show simple ways to test silicone sealant quality and determine whether the finished bead truly meets the required standard.
1. Why does a neat silicone sealant bead depend on sealant quality?
Many people assume that a straight application and even smoothing are enough to create a neat sealant bead. That is true, but not enough. If the sealant lacks stability, is too runny, sags easily, or has weak adhesion, the installer will find it difficult to control the bead even when the application technique is correct.
A good silicone sealant should have stable adhesion, suitable elasticity, shrinkage resistance, and a reasonable curing time. When applied to surfaces such as glass, aluminum, ceramic tiles, walls, or non-porous materials, the sealant should form a smooth bead without breaking, sagging, or spreading uncontrollably. It should also be easy to smooth within the workable time.
1.1. A neat sealant bead starts with material stability
When squeezing the caulking gun, the silicone sealant should flow evenly according to hand pressure. If the sealant comes out inconsistently, clumps, separates oil, or has an unusually strong odor, the bead can easily become uneven. In this case, the installer may have to smooth the bead several times, which often causes even more smudging.
On the other hand, a stable sealant makes application easier. After being applied, the bead can hold its shape without collapsing too quickly. This is an important factor in creating a neat finish, especially on vertical joints, door gaps, glass joints, or aluminum frame edges.
1.2. Low-quality sealant can affect the appearance of the project
Low-quality silicone sealant often shows problems after application. The bead may shrink, lift at the edges, crack, or discolor. In areas exposed to sunlight, rain, humidity, or temperature changes, these issues can appear even faster.
Therefore, before asking how to apply silicone sealant neatly, you should also ask another question: is this sealant good enough to keep the bead looking neat and durable over time?
2. Preparation before applying silicone sealant
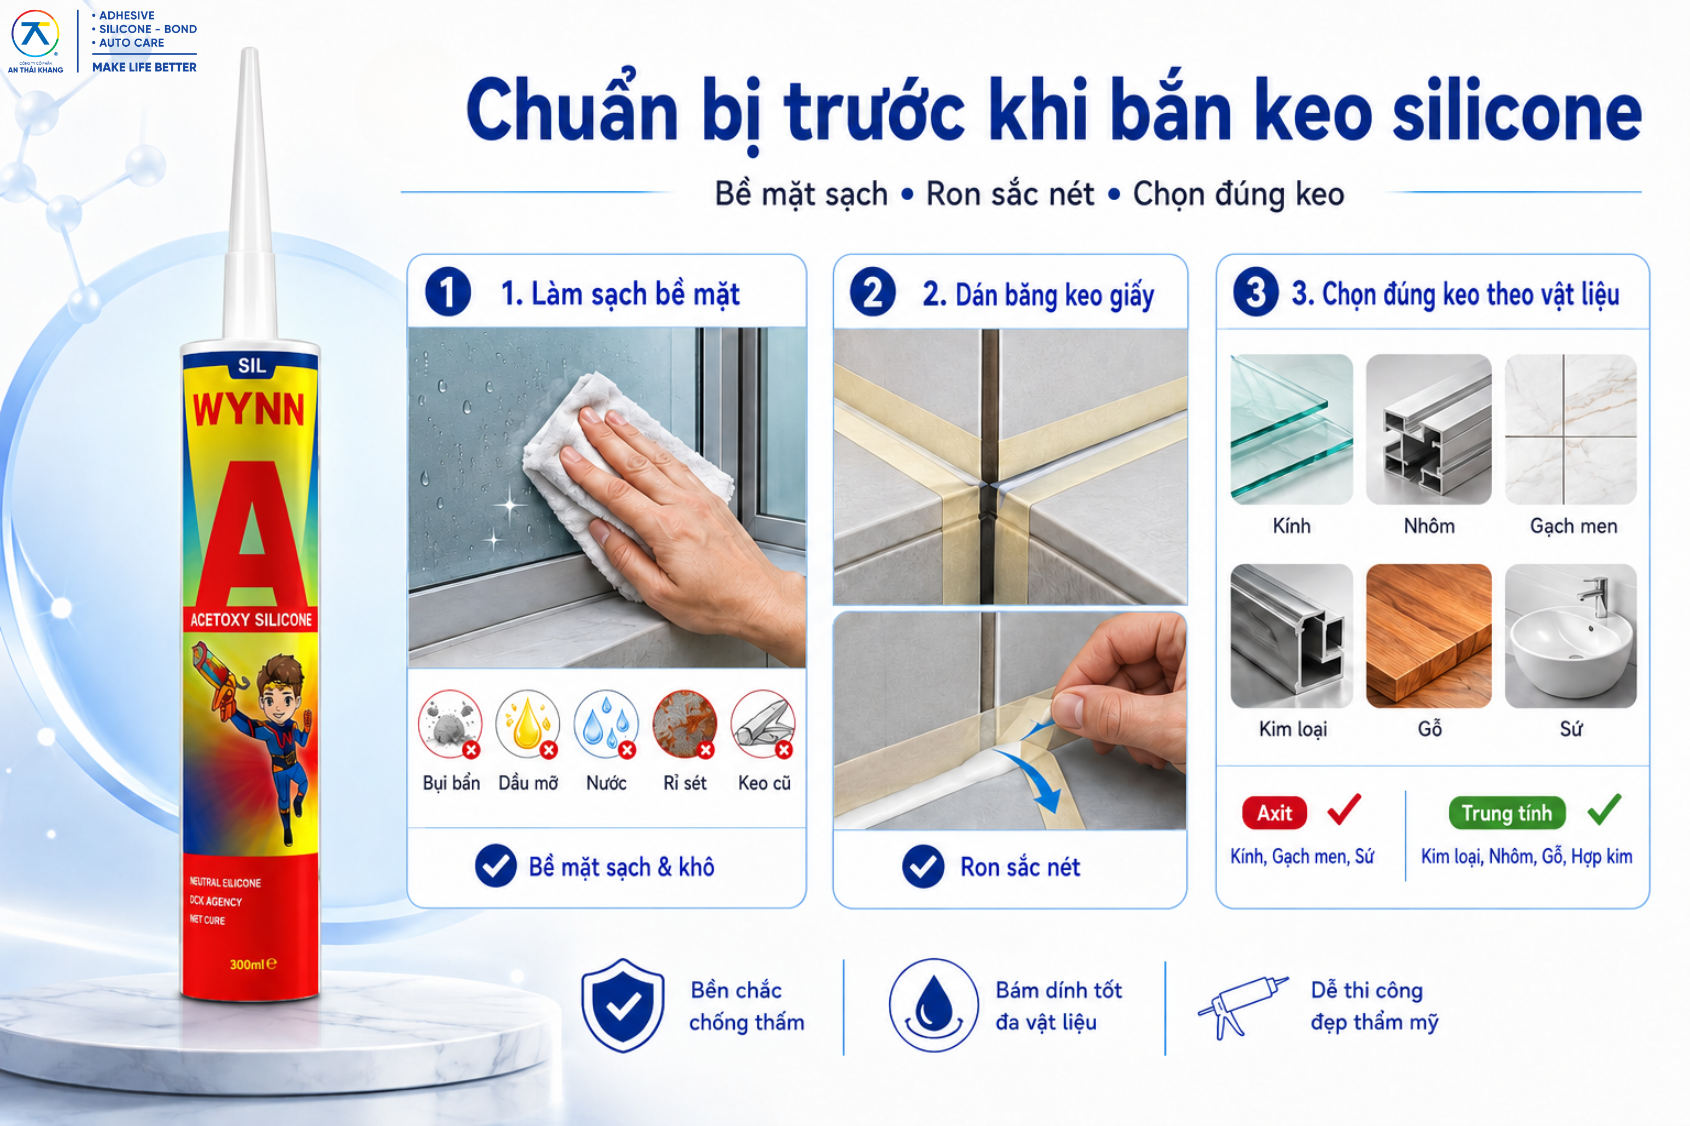
Preparation greatly affects both the adhesion and appearance of the sealant bead. Even when using a good sealant, if the surface still has dust, grease, water, or old sealant residue, the new sealant will have difficulty bonding firmly.
2.1. Clean the application surface
Before applying sealant, the area to be sealed must be completely cleaned. Remove dust, sand, grease, rust, old sealant residue, or any other contaminants on the surface. For glass, aluminum, ceramic tiles, or metal, you can use a clean cloth together with a suitable solvent to wipe the surface.
After wiping, wait until the surface is completely dry before applying the sealant. This is a very important step. If silicone sealant is applied to a damp or oily surface, it may appear to bond at first but can easily peel off later.
2.2. Use masking tape for a sharp sealant line
If you want to apply silicone sealant neatly, especially when you are not highly experienced, you should apply masking tape along both edges of the joint. The tape helps define the sealant area and prevents the sealant from smudging onto the surrounding surface.
The distance between the two tape edges should match the desired width of the sealant bead. After applying and smoothing the sealant, remove the tape while the sealant has not yet skinned over. If you wait too long, the edge of the sealant may tear or leave an uneven line.
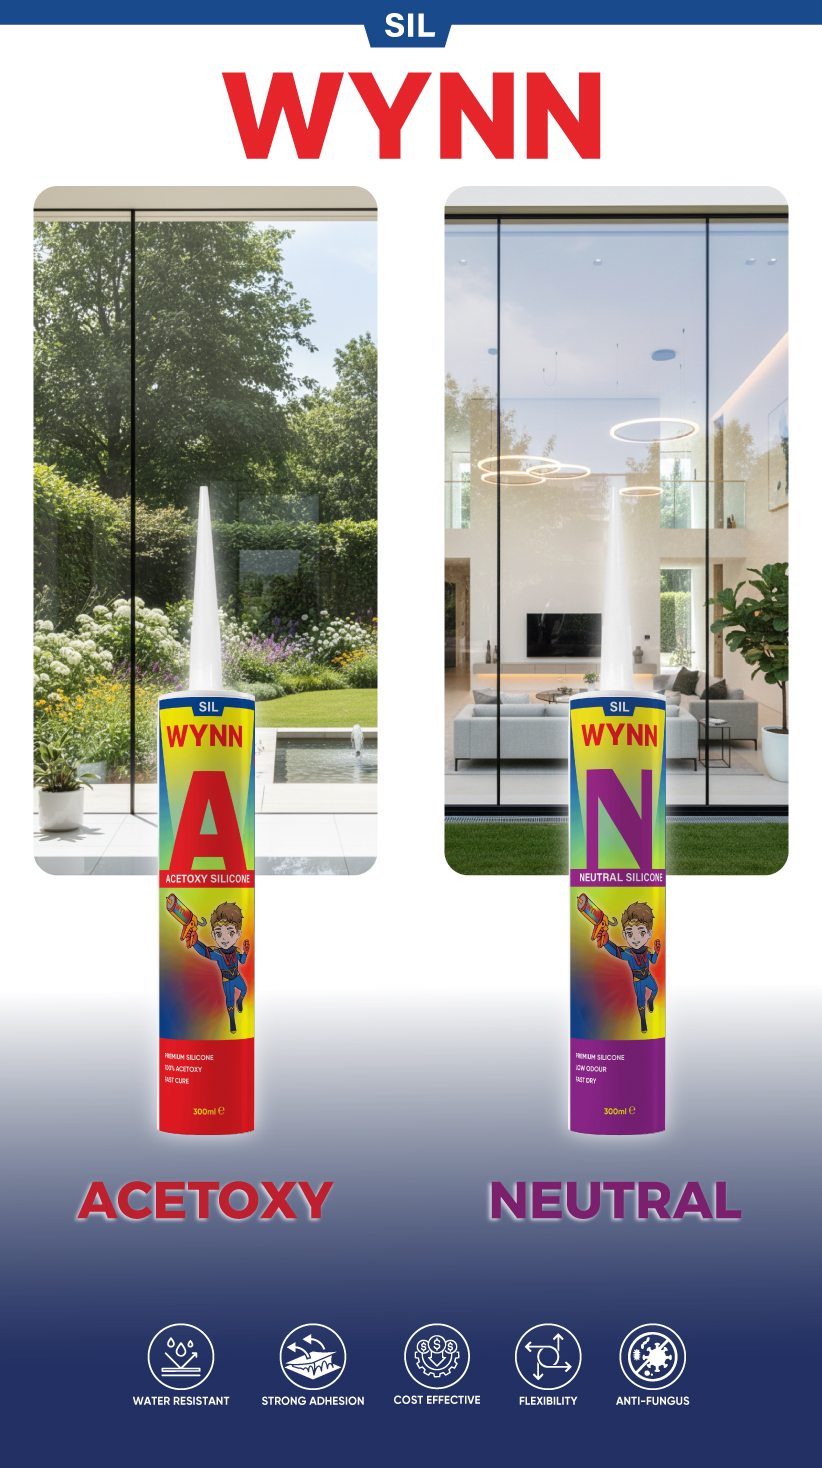
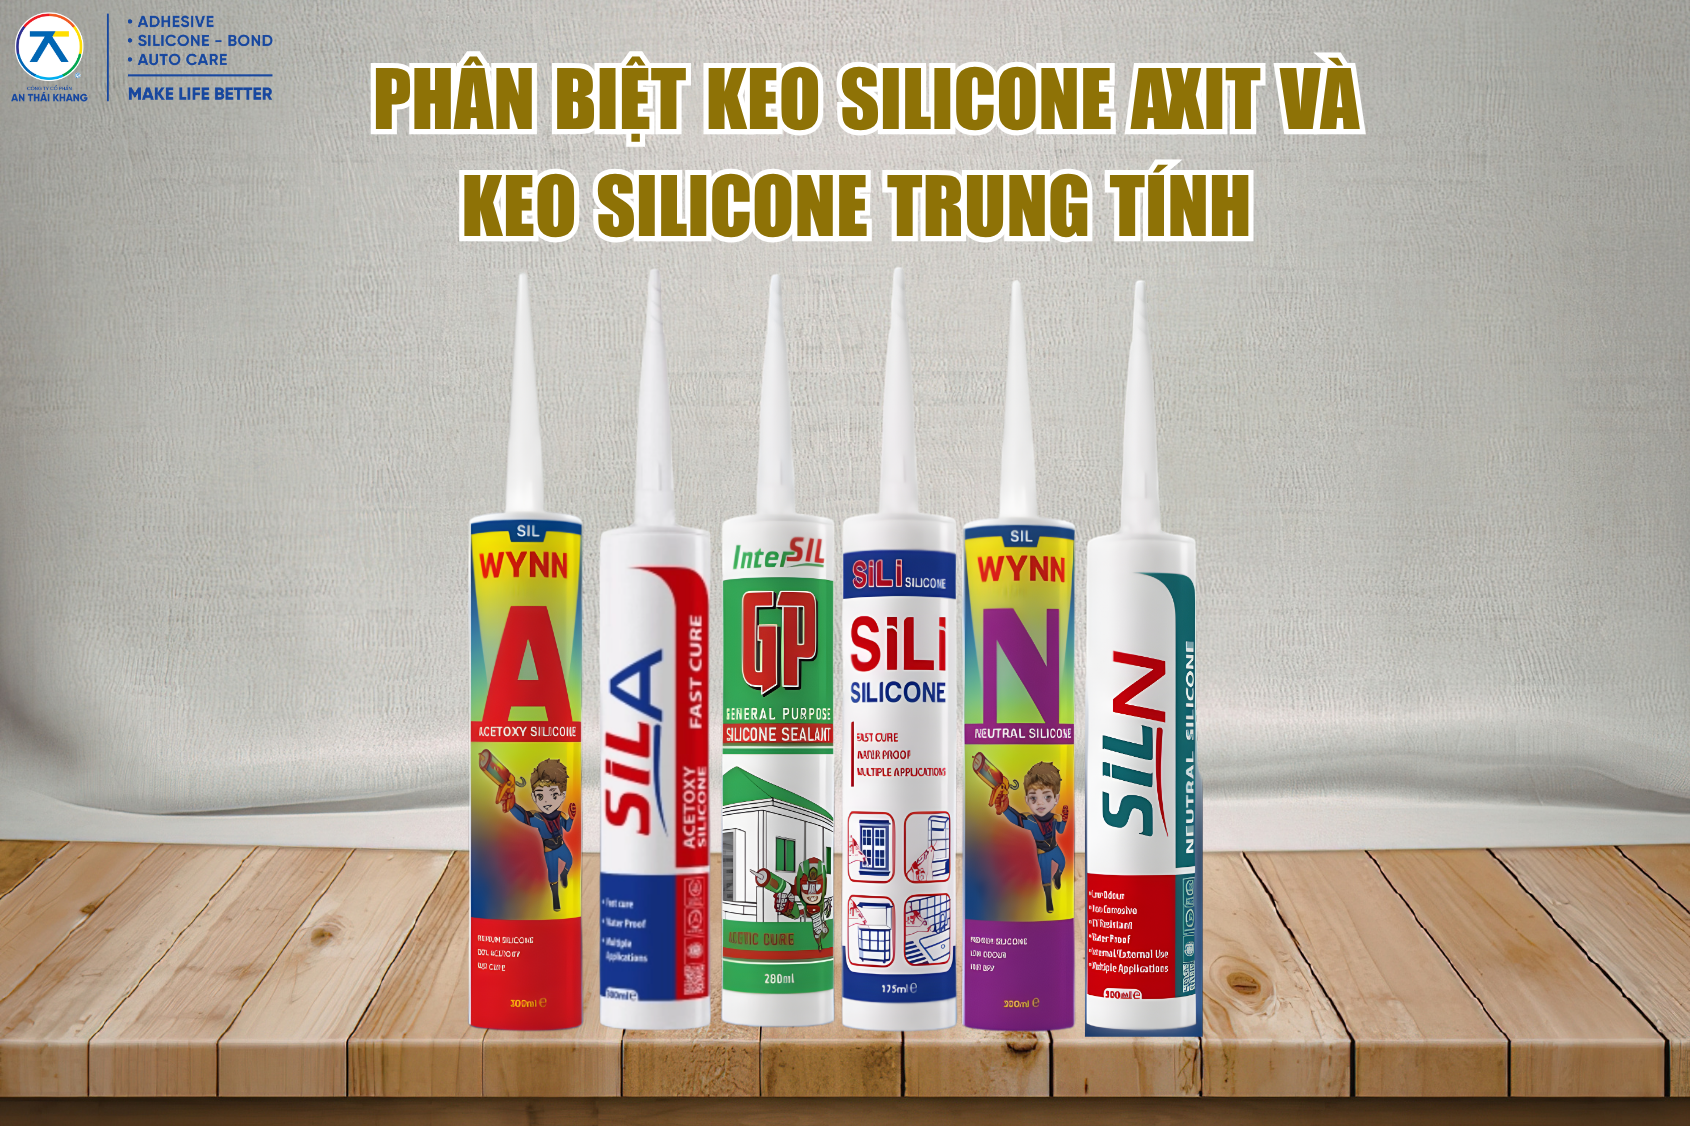
2.3. Choose the right sealant for the material
Not all silicone sealants are used in the same way. For common applications such as sealing glass joints, windows, ceramic tiles, or household repairs, acid-curing silicone sealant can be selected. For surfaces that require limited corrosion, higher durability, or use on aluminum glass systems, metal, wood, ceramics, or alloys, neutral-cure silicone sealant should be considered.
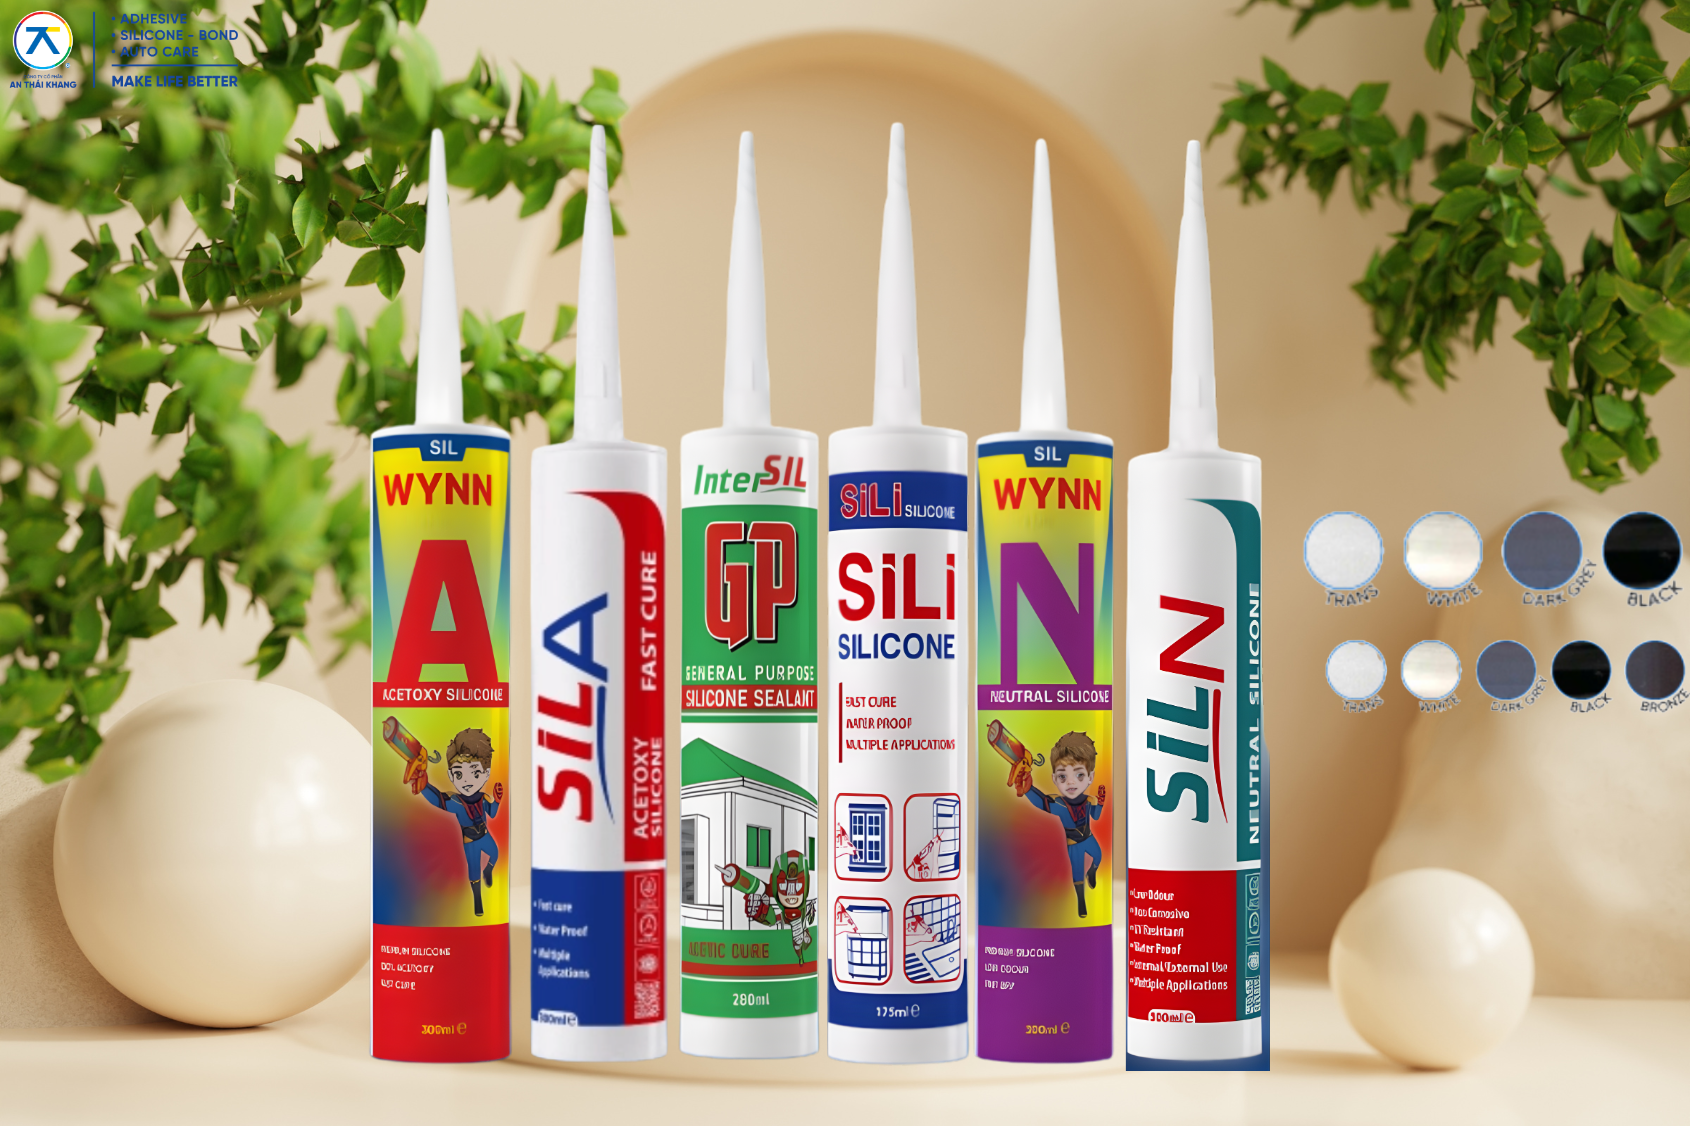
At An Thái Khang, the silicone sealant category is divided into several groups such as acid-curing silicone, neutral-cure silicone, and Wacker Silicone. This grouping helps users choose sealants based on application needs instead of relying on guesswork.
3. How to apply silicone sealant neatly, evenly, and with minimal smudging
To create a neat sealant bead, the application should remain consistent from start to finish. Before starting, the installer should prepare a caulking gun, cutter, masking tape, cleaning cloth, diluted soapy water, and a smoothing tool.
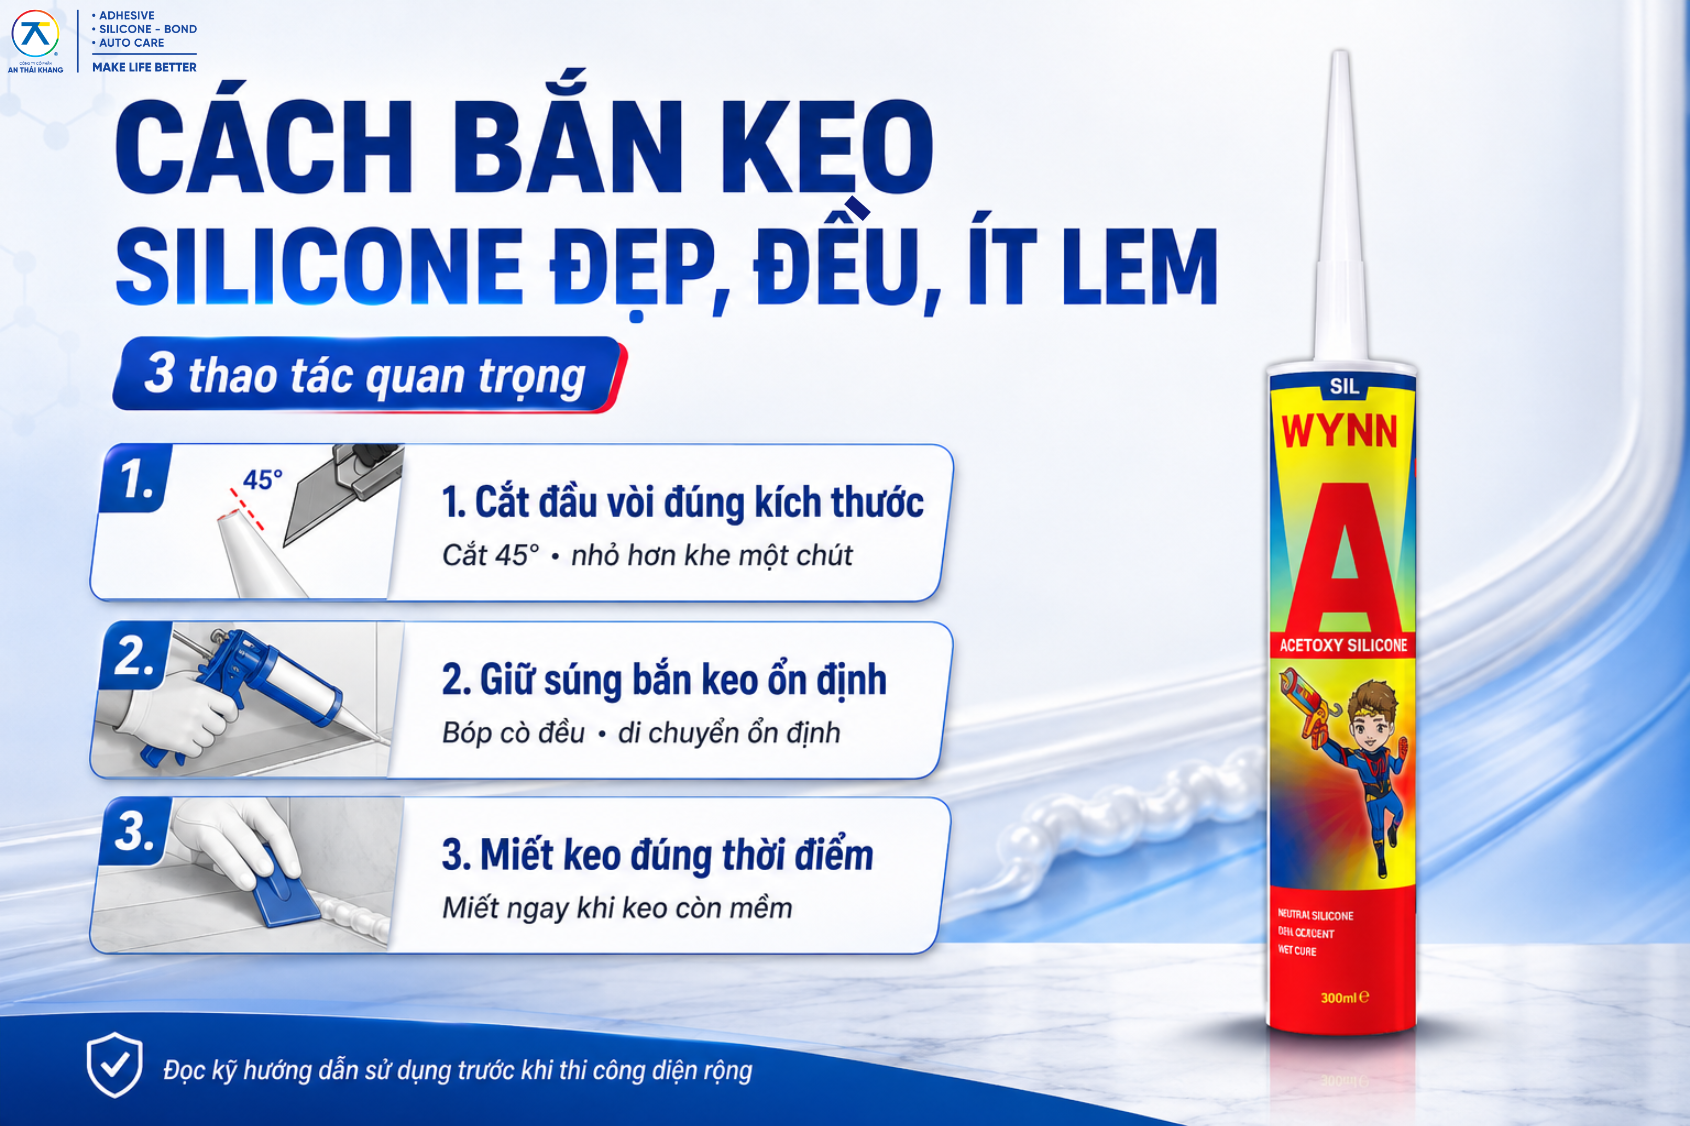
3.1. Cut the nozzle to match the joint size
The nozzle determines the size of the sealant bead. If the cut is too small, the sealant may not fill the joint properly, making the bead look sunken. If the cut is too large, too much sealant will come out, making it difficult to control and more likely to smudge.
The best method is to cut the nozzle at an angle of about 45 degrees. The opening should be slightly smaller than the joint to be sealed. After a test application, if the amount of sealant is not enough, you can cut the nozzle slightly wider. Do not cut it too large from the beginning because it will be difficult to correct.
3.2. Keep the caulking gun stable
When applying the sealant, hold the caulking gun at an angle in the direction of movement. The nozzle should lightly touch the joint so that the sealant can enter the area that needs sealing. Squeeze the trigger evenly and avoid jerky movements. The moving speed should also remain steady so the bead does not become too thick in some areas and too thin in others.
If you are new to the process, test the application on a short section first. Check whether the sealant comes out evenly, whether the bead breaks, and whether the nozzle size matches the joint width. Then proceed with the main application area.
3.3. Smooth the sealant at the right time
Smoothing is the step that creates the finished surface. After applying the sealant, smooth it while it is still soft enough. You can use a rubber spatula, a dedicated smoothing tool, or a finger dipped in diluted soapy water. The pressure should be light and decisive, moving in one direction and avoiding repeated smoothing.
If the sealant is smoothed too early, before the bead has settled, the joint may become sunken. If it is smoothed too late, the surface may already begin to skin over. When the smoothing tool passes over it, the bead may wrinkle, scratch, or become uneven.
With some sealants that form a skin quickly, the installer needs to work efficiently. Therefore, before applying sealant over a large area, it is best to read the instructions on the packaging or product page carefully.
4. How to test silicone sealant quality after application
A sealant bead that looks good to the eye may not necessarily meet quality standards. To evaluate it more accurately, you can check adhesion, drying time, elasticity, and the ability of the sealant to hold its shape after curing.
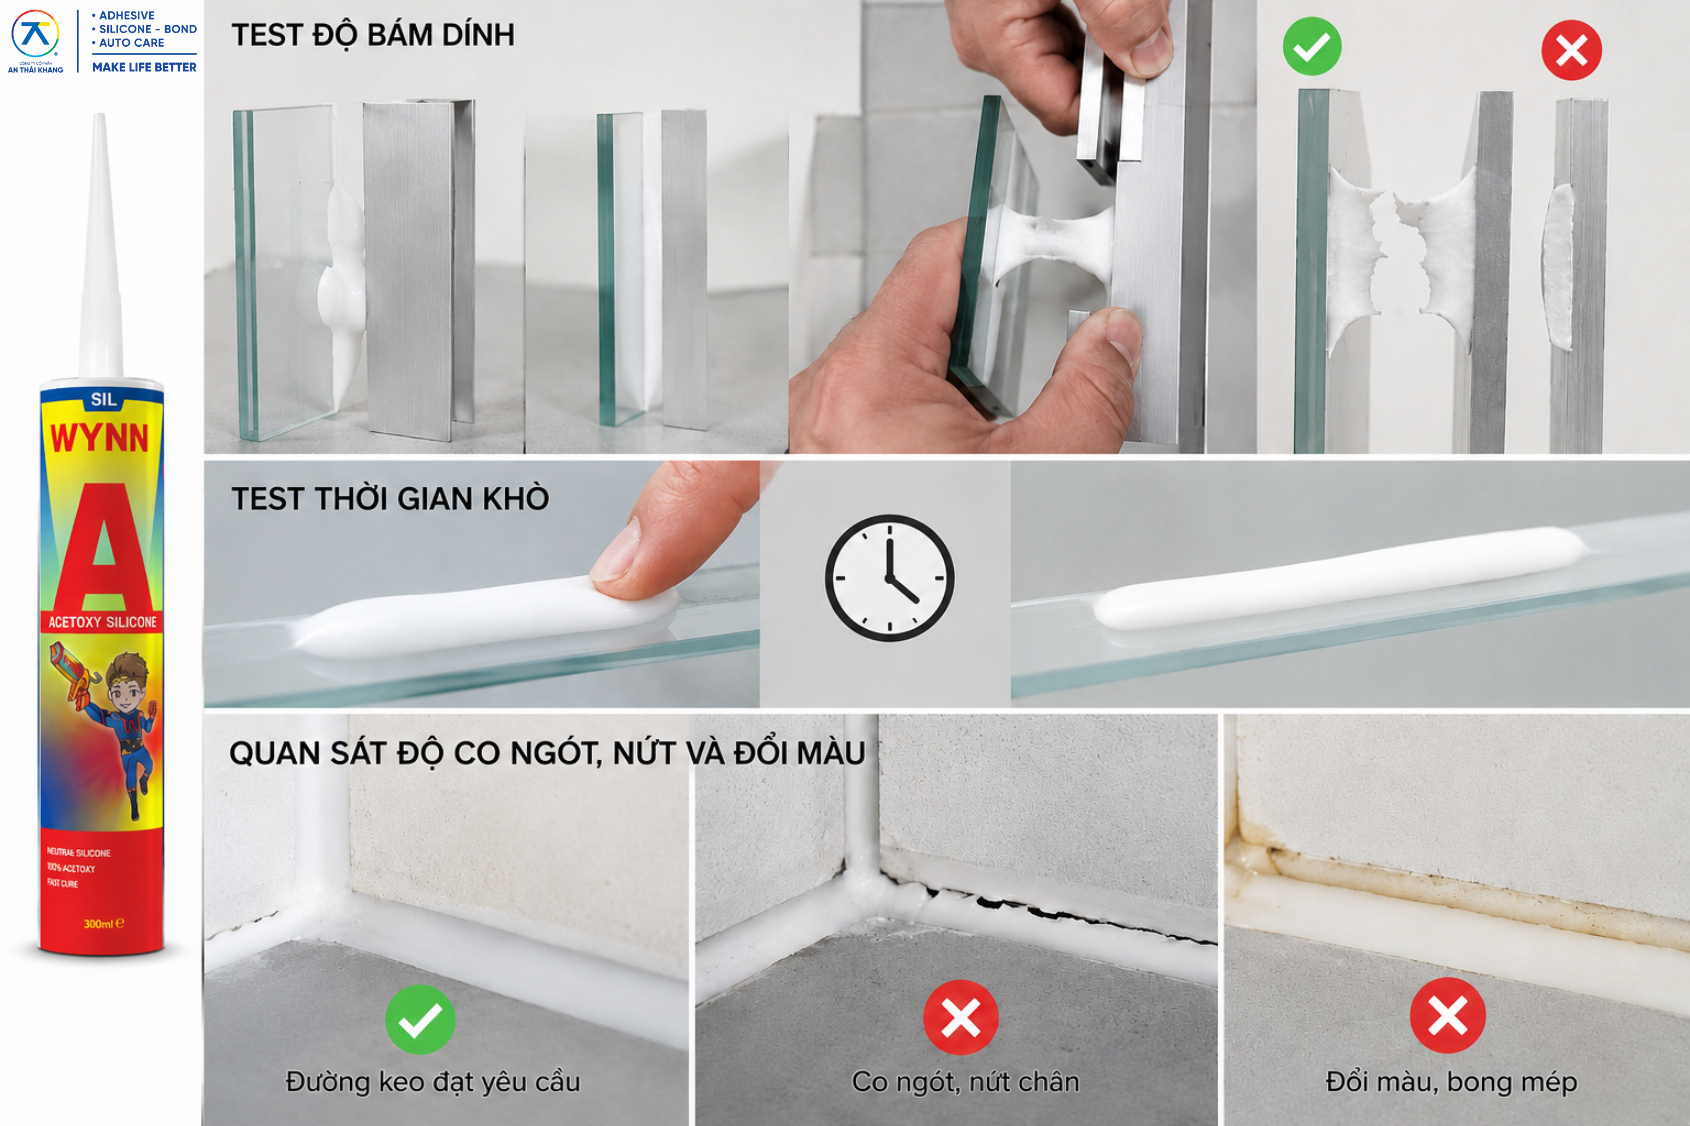
4.1. Test adhesion
This is the most important test. You can prepare two sample materials similar to the actual application surface, such as glass with aluminum, glass with ceramic tile, or aluminum with a properly cleaned wall surface. Apply a suitable amount of sealant between the two surfaces, press them together, and let the sealant cure according to the recommended time.
After the sealant has cured, pull or separate the two surfaces using force. If the sealant has good adhesion, the sealant layer will usually tear in the middle or deform before detaching from the surface. If the sealant peels off as a whole piece from the material, this indicates that the adhesion is not sufficient or that the surface preparation was not done properly.
For applications that require strong adhesion, such as aluminum glass systems, windows, glass partitions, or outdoor joints, this test should be carried out before large-scale application.
4.2. Test skin-over time and full cure time
Silicone sealant usually needs time to skin over and cure deeply. Skin-over time refers to the point when the surface of the sealant no longer feels sticky to a light touch. Full cure means the sealant has cured deeply enough inside.
If the sealant skins over too quickly, the installer may not have enough time to smooth it, causing the bead to look uneven. If it cures too slowly, dust may easily stick to the surface, and the project will need more time before use.
4.3. Observe shrinkage, cracking, and discoloration
After the sealant has cured, observe the bead again. A qualified sealant bead should maintain its fullness, have a smooth surface, show minimal shrinkage, and have no cracking or edge lifting. For outdoor locations, it is also necessary to monitor resistance to sunlight, rain, and temperature changes.
If the bead shrinks noticeably, small gaps appear, or the color changes quickly, the sealant may not be suitable for the application. In this case, you should not simply apply another layer of sealant over the existing one. You need to review the type of sealant, surface preparation, and application conditions.
5. Choosing silicone sealant based on the application

The method for applying silicone sealant neatly will be more effective when the right sealant is selected for the right task. For household applications such as sealing door gaps, tile joints, indoor glass joints, or small repairs, acid-curing silicone is a common choice because it is easy to apply, cures quickly, and is suitable for many non-porous surfaces.
For applications that require higher durability, limited surface corrosion, or use in outdoor areas, neutral-cure silicone sealant is more suitable. Products such as Silicone SIL N - Neutral or Silicone WYNN N - Neutral can be considered for areas that require elasticity, adhesion, and good weather resistance.
For projects with higher construction standards, the Wacker Silicone group is a suitable option for applications that require stable adhesion, good elasticity, and long-term durability. Depending on the characteristics of each position, such as aluminum glass joint sealing, structural glazing, or glass tanks frequently exposed to water, users should choose the right specialized sealant instead of using a general-purpose sealant simply because it is convenient or lower in cost. Each application has its own requirements for water resistance, weather resistance, surface safety, and post-application stability. Therefore, choosing the right sealant from the beginning will help the sealant bead look neater and remain more durable over time.
6. Common mistakes that make a sealant bead look unattractive
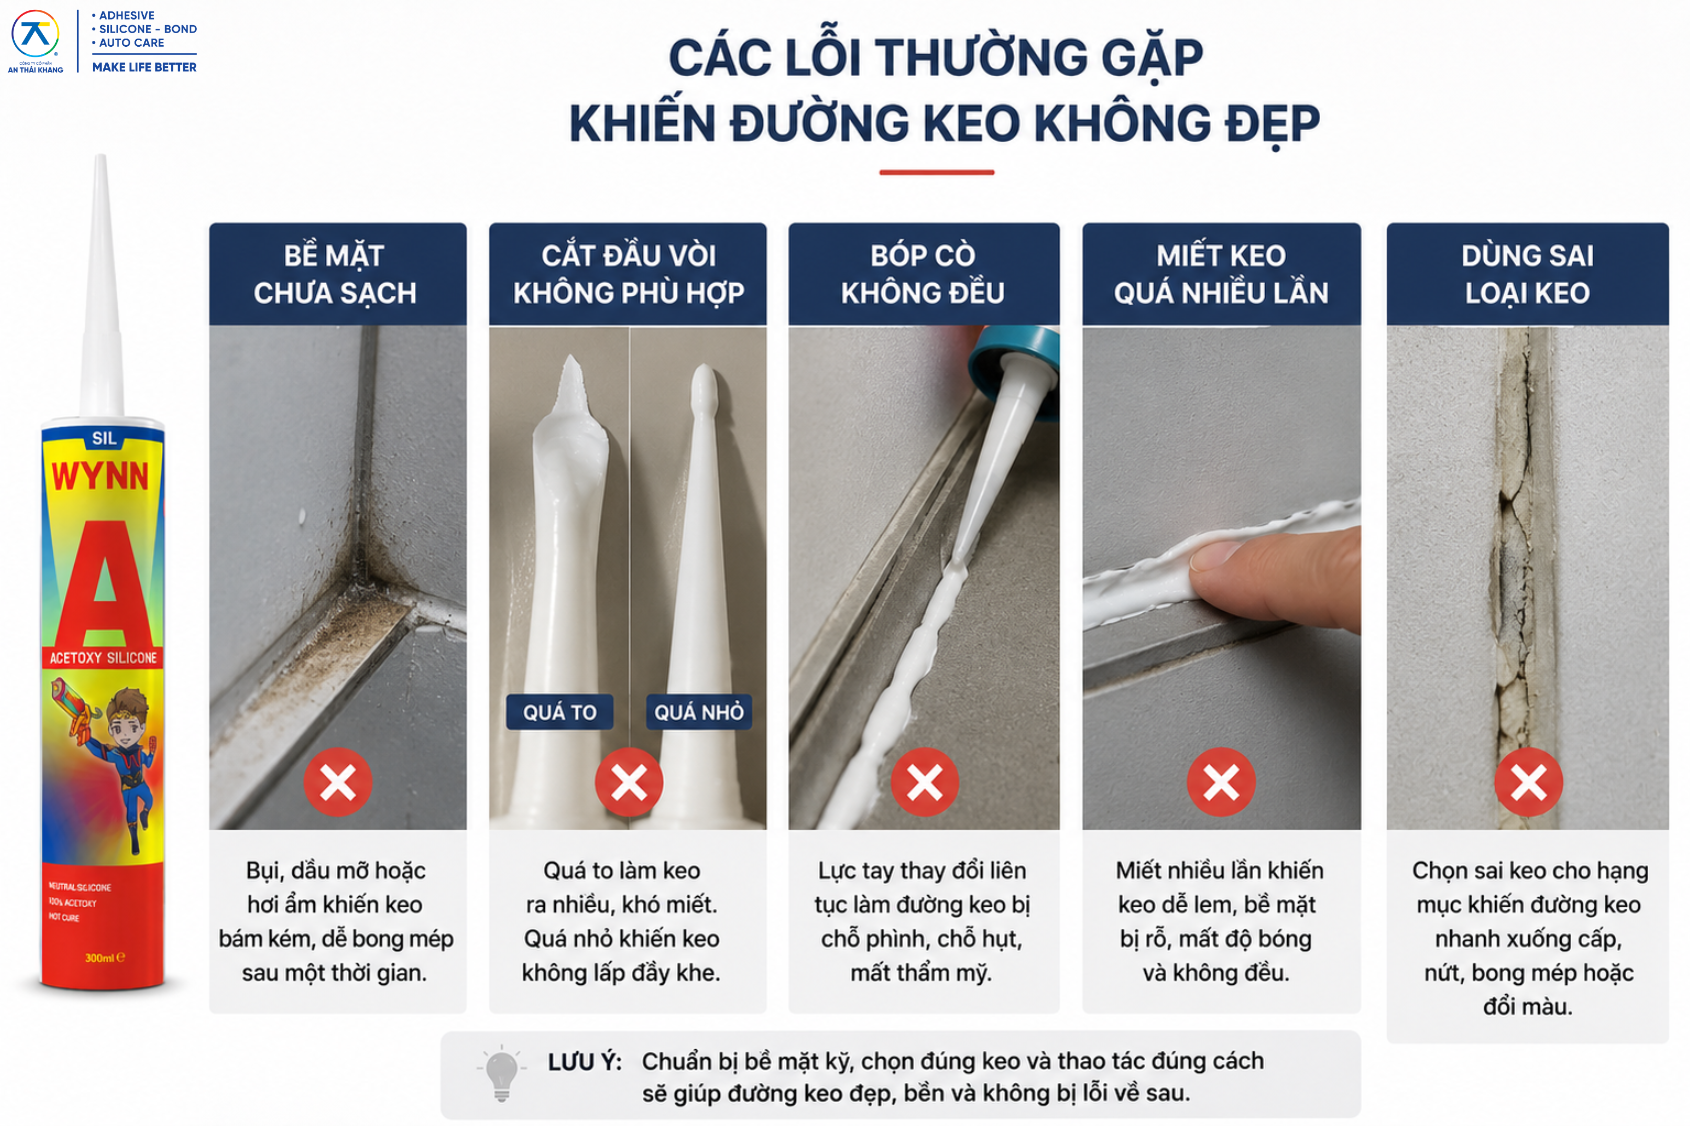
The first mistake is an unclean surface. Even a small amount of dust, grease, or moisture can reduce adhesion. The bead may look good immediately after application, but after some time, the edges may begin to lift.
The second mistake is cutting the nozzle incorrectly. If the nozzle opening is too large, too much sealant comes out and becomes difficult to smooth. If the opening is too small, the sealant will not fill the joint properly. Both situations can make the bead look less attractive.
The third mistake is uneven trigger pressure. When hand pressure changes continuously, the sealant bead may become swollen in some areas and insufficient in others. The installer should keep a stable moving speed and avoid stopping too long at one point.
The fourth mistake is smoothing the sealant too many times. Many people continue smoothing when they feel the bead is not yet even. However, the more the sealant is smoothed, the more likely it is to smudge, form surface pores, or lose its even gloss. It is best to smooth the bead once in a decisive motion, then make only slight adjustments where truly necessary.
The final mistake is using the wrong type of sealant. For example, do not use an unsuitable sealant for areas that are continuously immersed in water, do not use acid-curing sealant on acid-sensitive materials, and do not use general-purpose sealant for structural glazing. Choosing the wrong sealant can cause the bead to deteriorate quickly even if it looks good at first.
7. Suggestions for using An Thái Khang products without having to remember too many names
You do not need to remember every silicone sealant product on the market. A simpler approach is to classify products based on application needs.
7.1. Household, repair, and general sealing applications
If you need to seal indoor gaps, glass joints, tile joints, windows, or general household repair areas, you can consider acid-curing silicone sealants such as Silicone GP - Acid, Silicone SILI - Acid, or Silicone SIL A. This group is suitable for non-porous surfaces such as glass, ceramic tiles, aluminum, and metal in common applications.
7.2. Applications that require durability, elasticity, and weather resistance
For outdoor areas, aluminum glass frames, doors, windows, or joints that require high stability, neutral-cure silicone should be considered. Neutral-cure sealants are usually more suitable when durability, elasticity, and weather resistance are required.
This group should also be prioritized when the project needs a sealant bead that remains neat over the long term, not only on the first day of application.
7.3. Specialized applications that require the right sealant from the beginning
Some applications should not be handled by choosing sealant based on guesswork. Structural glazing requires a sealant specifically designed for structural glazing. Aquariums, glass tanks, or areas frequently exposed to water pressure need a sealant specifically made for water-contact environments. These areas should be carefully consulted before application to avoid risks such as peeling, cracking, leakage, or loss of safety.
If you are not sure which sealant to choose, you can view the An Thái Khang silicone sealant category here.
8. Conclusion
To achieve a neat sealant bead, you need to combine three key factors: choosing the right sealant, cleaning the surface properly, and applying the sealant with steady technique. A neat silicone sealant bead should not only be straight, smooth, and clean, but also firmly bonded, elastic, shrinkage-resistant, free from edge lifting, and able to maintain a tight seal over time.
Therefore, when learning how to apply silicone sealant neatly, do not overlook the step of testing silicone sealant quality. Check adhesion, drying time, shape retention, and stability after curing. This is a simple yet effective way to reduce application errors and choose the right product for each application.
With silicone sealant products clearly categorized by application needs, An Thái Khang helps users choose more easily between acid-curing silicone, neutral-cure silicone, and specialized Wacker Silicone products. Choosing correctly from the beginning will help the sealant bead look better, make the project more durable, and save application time.
AN THAI KHANG JSC
- • Fanpage: An Thái Khang JSC
- • Hotline: 0764 644 245
- • Email: support@anthaikhang.com
- • Website: https://anthaikhang.com/