
Creative and Easy Halloween Decoration Ideas
Discover creative Halloween decoration ideas with MIRA Spray Paint and RV Foam Expanding Adhesive, perfect for homes, stores, and photo corners. Create spooky shapes, add bold colors, and turn familiar spaces into eye-catching Halloween scenes.
Halloween is the perfect occasion to give familiar spaces a completely new look. From a small corner at home or in a store to a check-in area at an event, choosing the right concept and materials can help you create a space that feels both mysterious and eye-catching without having to purchase too many ready-made decorations.
One of the most interesting approaches is to make use of cardboard, bottles and jars, paper boxes, wood, or unused household items, then transform them into Halloween props in your own style.
During the DIY process, MIRA Spray Paint can help complete the color finish on suitable surfaces, while RV Foam Expanding Foam can be considered for certain gap-filling or volume-building applications in accordance with the product instructions.
Below are some simple Halloween decoration ideas that can be easily adapted to different spaces.
1. DIY Halloween Decorations Using Everyday Materials
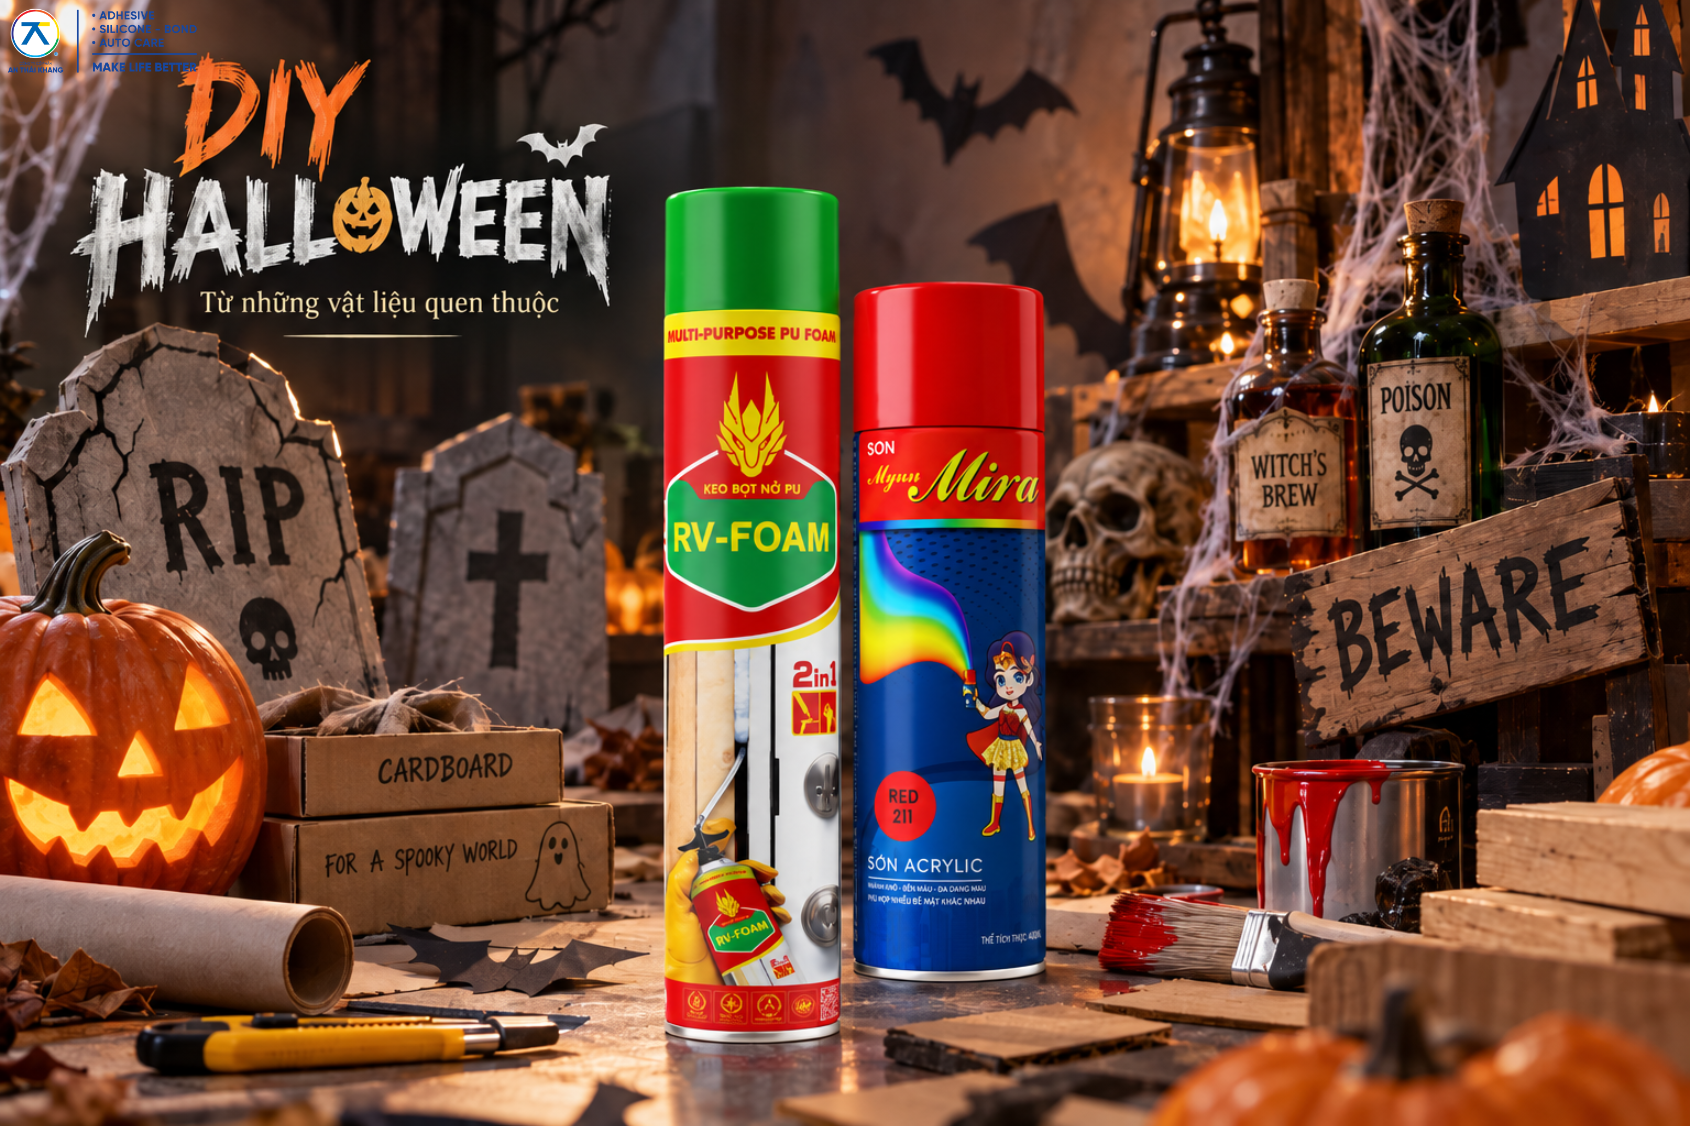
You do not need too many elaborate accessories to create an impressive Halloween corner. Familiar materials such as cardboard, bottles and jars, paper boxes, old wood, or unused household items can all be repurposed for decoration.
Cardboard can be cut into tombstones, warning signs, or decorative elements for a backdrop. Old bottles and jars work well for laboratory or witch-themed concepts, while paper boxes and wood can be used to add extra decorative layers and create greater visual depth.
To keep the overall setup from looking disconnected, it is best to decide on a concept before getting started, such as a graveyard, abandoned house, laboratory, or minimalist Halloween theme. Then, choose a consistent color palette and keep only the materials that fit the chosen concept.
For example, a graveyard concept can focus on tombstones, signs, dry branches, and dim lighting. For a laboratory theme, bottles, paper labels, and objects in different shapes can become the main visual highlights. If you prefer a more modern look, you can reduce the number of props and focus more on the backdrop, color palette, and lighting.
This approach not only helps reduce costs but also turns simple everyday items into distinctive decorative details, making them suitable for Halloween decoration at home, in stores, or at check-in areas.
2. Transform Halloween Props with MIRA Spray Paint

Color plays an important role in bringing separate materials together into one cohesive concept.
A plain piece of cardboard may not immediately create a strong Halloween atmosphere. However, with the right color treatment, it can become a tombstone, warning sign, nameplate, or part of a larger backdrop.
For DIY projects involving compatible surfaces, MIRA Spray Paint can be considered to support the color-finishing stage. Its spray format is also convenient for objects with multiple edges, corners, or details that require flexible application.
2.1. Create Props for a Graveyard Concept
A graveyard is one of the easiest Halloween decoration concepts to create because it does not require too many materials.
You can cut cardboard into tombstone shapes, add basic details, and then finish the colors to reduce the appearance of the original paper surface. Larger pieces of cardboard can also be transformed into warning signs, cemetery gates, or directional signs.
For the background, use a dark-colored backdrop or a simple surface that does not compete visually with the props in front. A few small light sources placed in suitable positions can help make the different decorative layers stand out more clearly in photos.
Instead of placing all props too close together, leave some space between each layer. Larger objects can be placed in the back, medium-sized elements in the middle, and smaller details in the foreground to create greater depth.
2.2. Refresh Old Bottles, Frames, and Household Items
In addition to cardboard, old household items can also be repurposed into Halloween decorations.
Bottles and jars can be paired with paper labels to resemble containers from a laboratory or witch-themed setting. Old picture frames can become part of a Halloween wall display, while paper boxes can be redesigned into chests, mystery boxes, or backdrop props.
Using a consistent color palette helps materials with different textures and shapes look as though they belong to the same concept.
When using spray paint, check the compatibility of the surface, choose an appropriate working area, and follow the product instructions carefully.
3. Create Surface Effects with RV Foam Expanding Foam
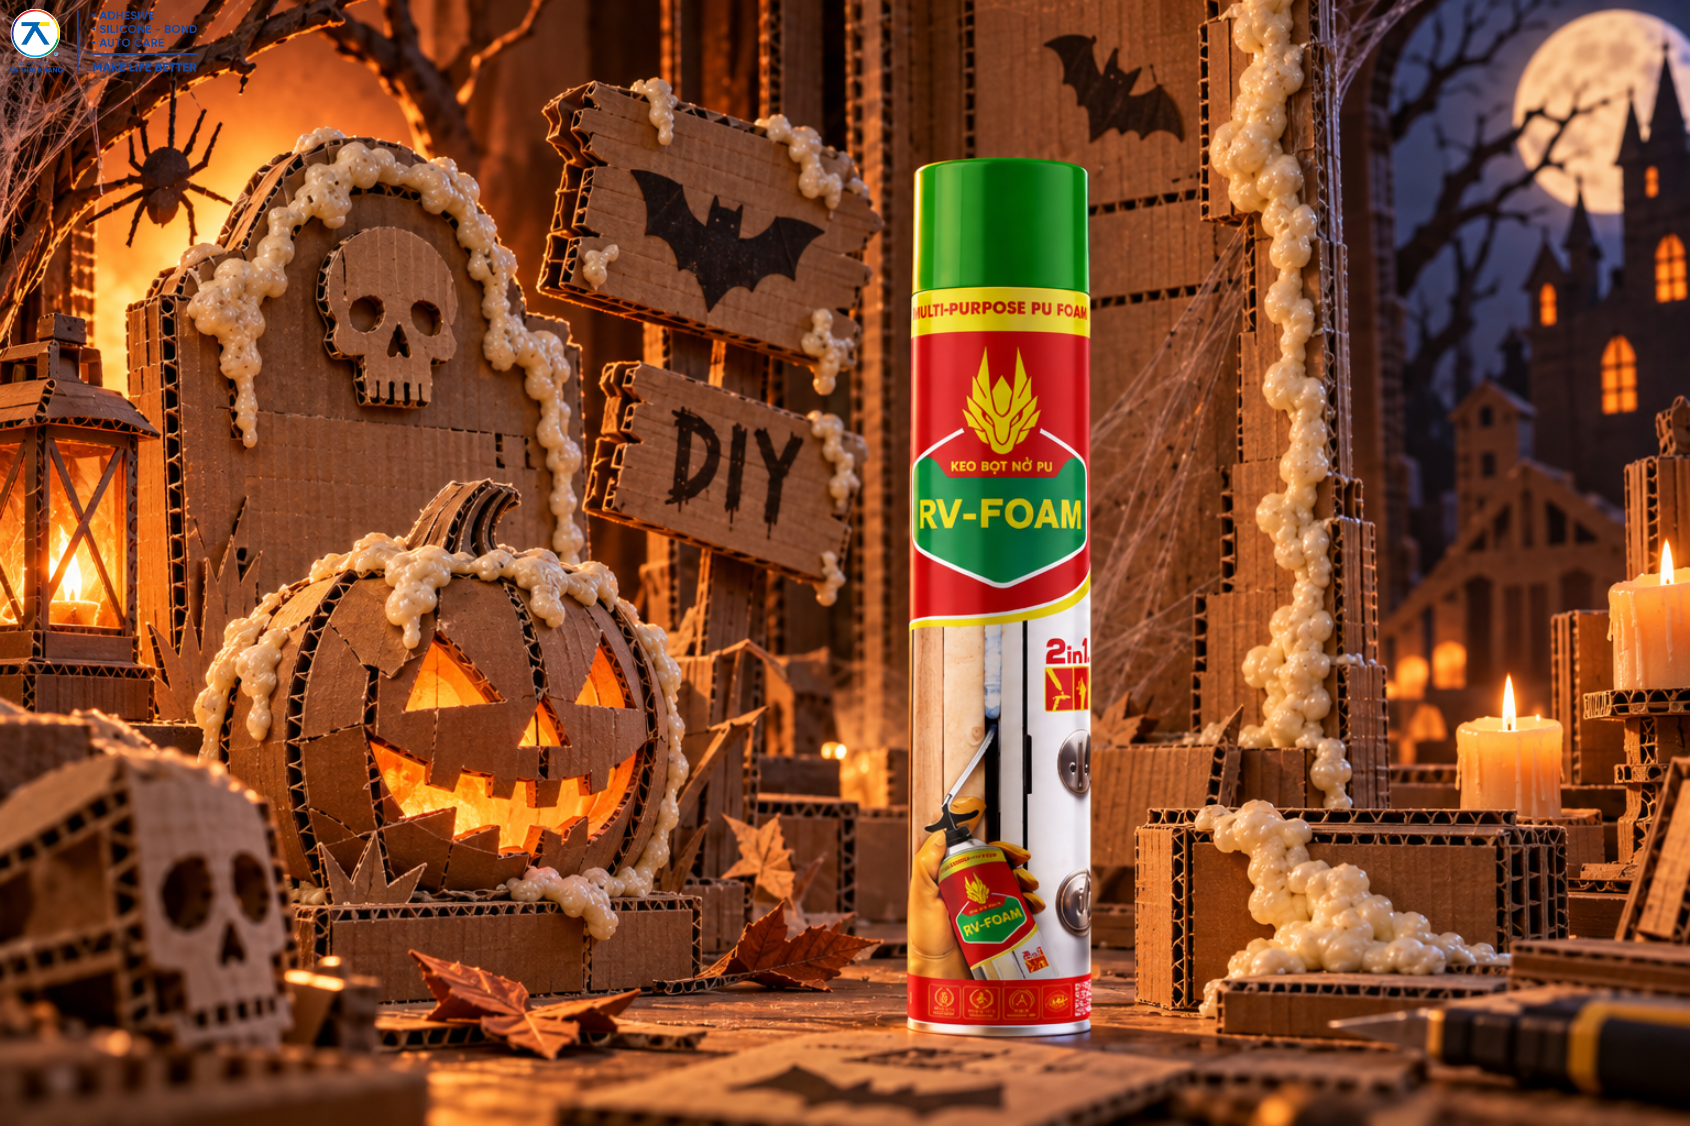
In addition to color, shape and surface texture can make a Halloween setup feel more dynamic. Rough, uneven, or slightly raised details can create an aged and mysterious appearance that works well with concepts such as abandoned houses, graveyards, or laboratories.
For suitable applications, RV Foam Expanding Foam can be considered for filling gaps or adding volume to certain DIY details. When combined with layered backdrops and a consistent color palette, it can help create greater visual depth without requiring too many additional accessories.
Instead of placing all props on a single flat plane, you can divide the backdrop into several layers. The rear layer sets the overall scene, the middle layer contains the main shapes and props, while only a few smaller details are needed in the foreground to create visual interest.
For an abandoned house concept, uneven surfaces or multiple material layers can make the backdrop appear less flat. For a graveyard theme, varying the heights of tombstones and surrounding props can create a more natural effect.
When using RV Foam, make sure the material and intended application are suitable, and follow the product’s technical instructions before moving on to any further finishing steps.
4. Halloween Decoration Ideas for Different Spaces
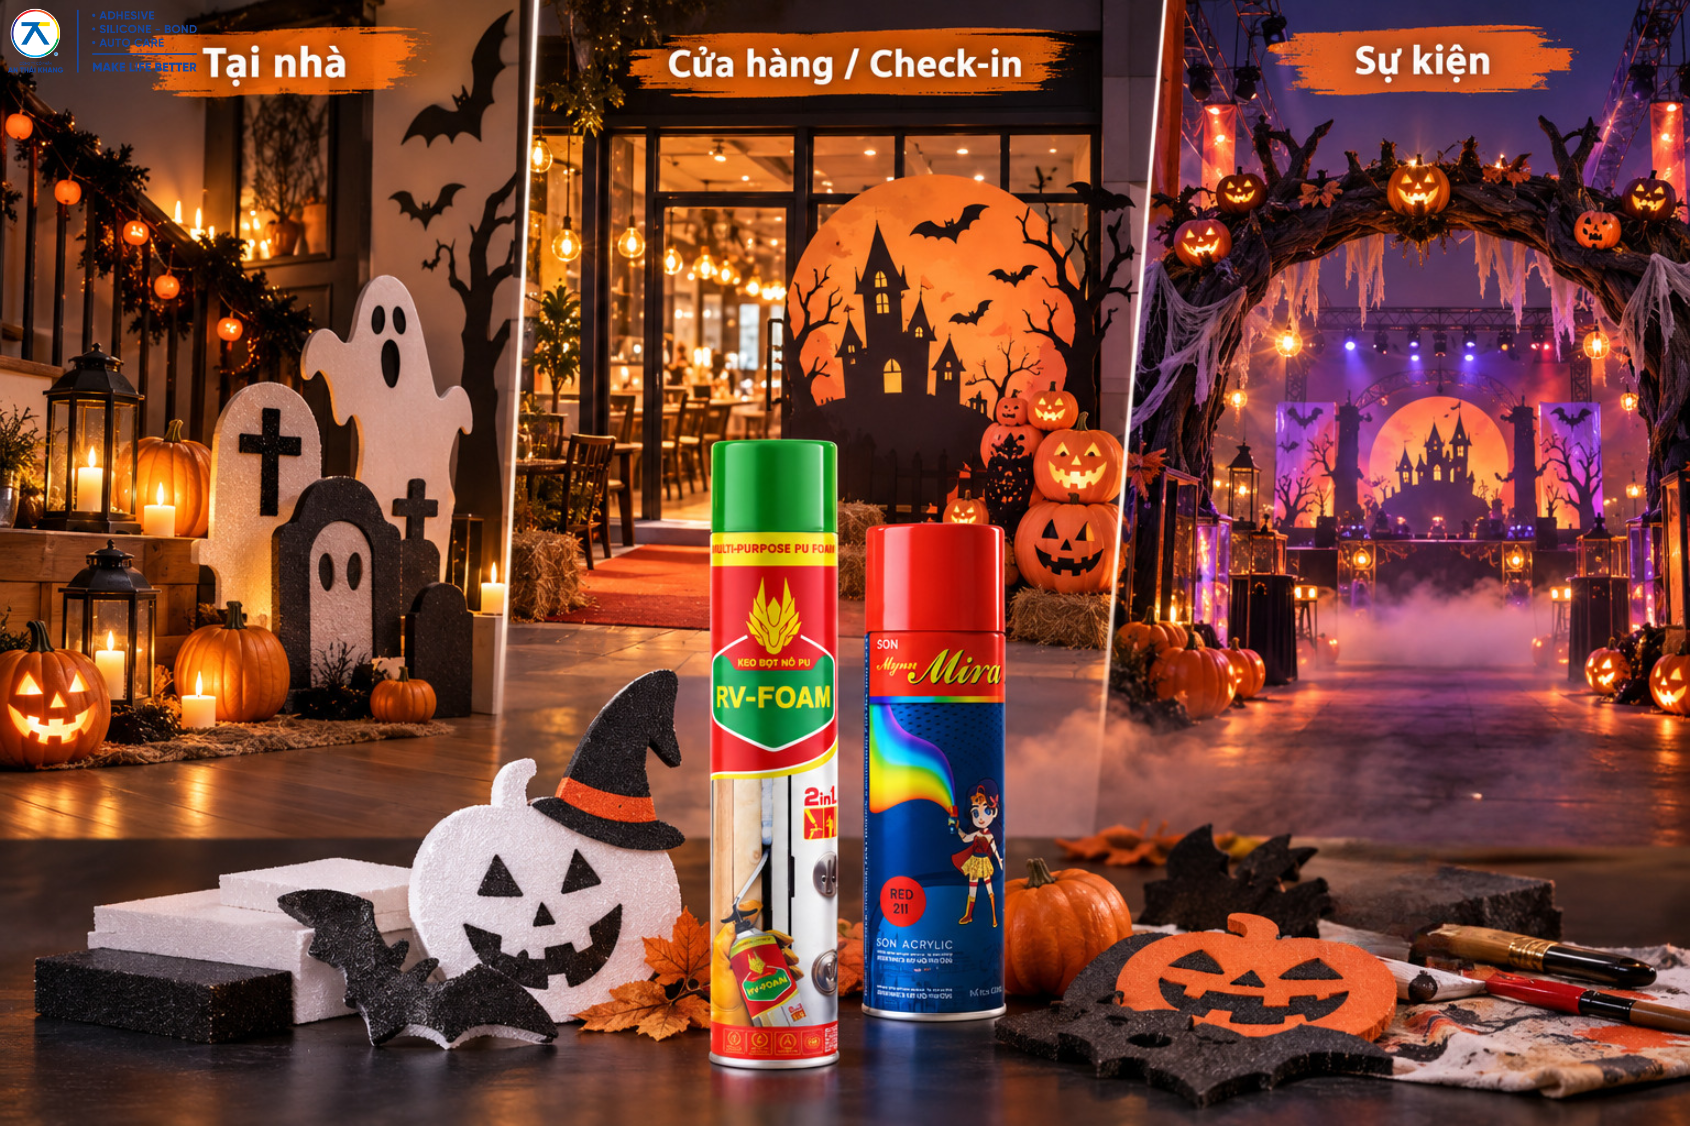
Each space requires a different decorating approach. Instead of applying the same layout everywhere, consider the size of the area, its intended purpose, and how visitors are likely to interact with the space before choosing the most suitable decoration style.
4.1. Halloween Decorations at Home
For residential spaces, there is no need to decorate the entire home. A small area that is thoughtfully arranged can often create a stronger effect than many details scattered throughout the space.
An entrance, living room table, balcony, or empty wall can all become the main decorative area. You can arrange a dark-colored backdrop, add a few DIY props, and use lighting to build the Halloween atmosphere.
For example, a simple backdrop combined with three to five decorative elements such as tombstones, signs, pumpkins, or bottles and jars may already be enough to create a Halloween photo corner.
If the space is limited, prioritize props that can be easily stored or reused after the event. This can make both decorating and cleanup more convenient.
4.2. Decorating Stores and Check-In Areas
For stores, showrooms, or cafés, priority should be given to the storefront and areas where customers frequently take photos.
Instead of placing many small objects throughout the space, consider focusing on one Halloween corner with a clear concept. The backdrop, signage, and props should follow the same color palette to create a more cohesive appearance.
If the store has large glass windows, interior decoration can be combined with lighting to create an effect that is visible from outside. This not only enhances the Halloween atmosphere but also helps create a seasonal visual identity.
For check-in areas, leave enough space for visitors to stand comfortably when taking photos. Props that are too large or positioned too close to the camera can make the background look cluttered and cause the main subject to get visually lost.
4.3. Halloween Event Decorations
Events usually have larger spaces, so they can be divided into multiple areas such as the entrance, check-in zone, activity area, and stage.
However, these areas should still follow the same overall concept. If the entrance is designed in an abandoned-house style, the remaining areas can continue using similar colors, typography, and materials to maintain visual consistency.
Not every area needs to be decorated with the same level of detail. The check-in area can serve as the main focal point, while walkways and secondary spaces may only need a few repeated elements from the main concept.
For props used in crowded areas, attention should also be given to placement, material stability, and walking space to help reduce obstruction.
5. Conclusion
Halloween decorating does not necessarily have to begin with purchasing a large number of accessories. A clear concept, a consistent color palette, and creative use of available materials can already help create a distinctive and engaging Halloween space.
Cardboard, bottles and jars, paper boxes, and old household items can all become useful materials for DIY ideas. The key is to define the intended style first, then select suitable materials and finishing methods instead of adding too many details to the same space.
During the finishing process, MIRA Spray Paint can be considered to help create a more consistent color finish on suitable surfaces. For applications involving gap filling or adding volume, RV Foam Expanding Foam can also be considered as a supporting product when used in accordance with its instructions.
From a small corner at home to a check-in area in a store or at an event, focusing on the concept, color palette, and arrangement of different spatial layers can make Halloween decoration ideas easier to execute while still creating a strong visual impact.
AN THAI KHANG JSC
- • Fanpage: An Thái Khang JSC
- • Hotline: 0764 644 245
- • Email: support@anthaikhang.com
- • Website: https://anthaikhang.com/