
Silicone Sealant: How to Remove Excess Sealant and Store It Properly
Learn how to remove excess silicone sealant while it is still uncured or after it has fully cured, how to minimize smearing during application, and how to properly store leftover sealant for convenient use next time.
A neat silicone joint depends on more than just applying and tooling the sealant correctly. Excess silicone along the edges, old sealant remaining on the surface, and the way an opened tube is stored after use can all directly affect how clean and efficient the job is.
One-component silicone sealant begins to cure when exposed to moisture in the air. For this reason, freshly smeared silicone is much easier to remove than silicone that has already cured into a flexible rubber-like material. General-purpose silicone sealants also typically require surfaces to be clean, dry, and free of old sealant before a new bead is applied.
Understanding the right time to clean up excess sealant can reduce the amount of scraping required while helping keep glass, aluminum, tiles, and surrounding surfaces cleaner.
1. Remove Excess Silicone as Early as Possible
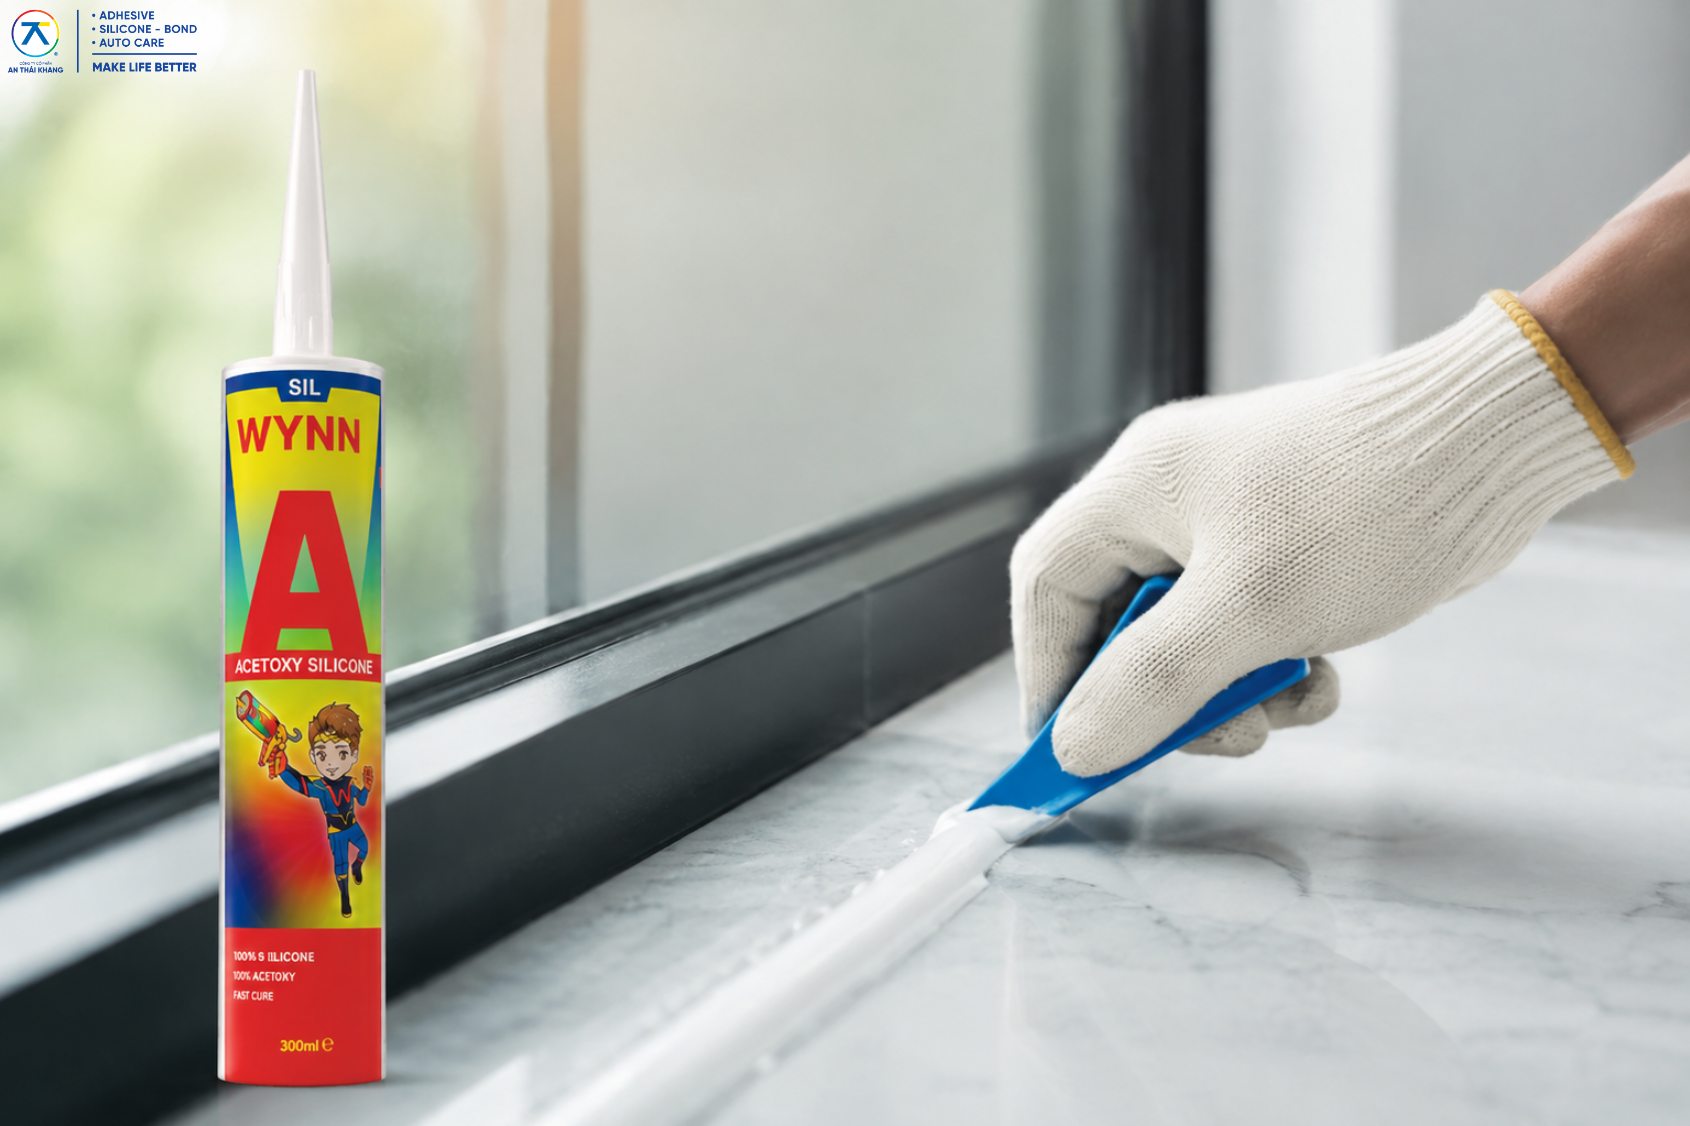
The easiest time to clean excess silicone sealant is immediately after application and tooling, while the material is still soft.
If silicone spreads beyond the edge of the joint, do not wait until the bead has cured before removing it. Use a tooling tool or suitable cloth to collect the excess sealant, working from the outside toward the joint to avoid spreading silicone onto clean areas.
Once silicone has fully cured, it becomes flexible and adheres firmly to the surface. At this stage, removal usually requires cutting, scraping, or the use of a suitable silicone remover to help eliminate the old material. WACKER also recommends cleaning before silicone has fully cured; cured silicone is generally removed mechanically or with a compatible silicone remover.
The simplest rule is:
Fresh excess silicone → Remove it immediately.
Cured silicone → Remove the main bead first, then clean the remaining residue.
2. How to Remove Silicone Depending on Its Condition
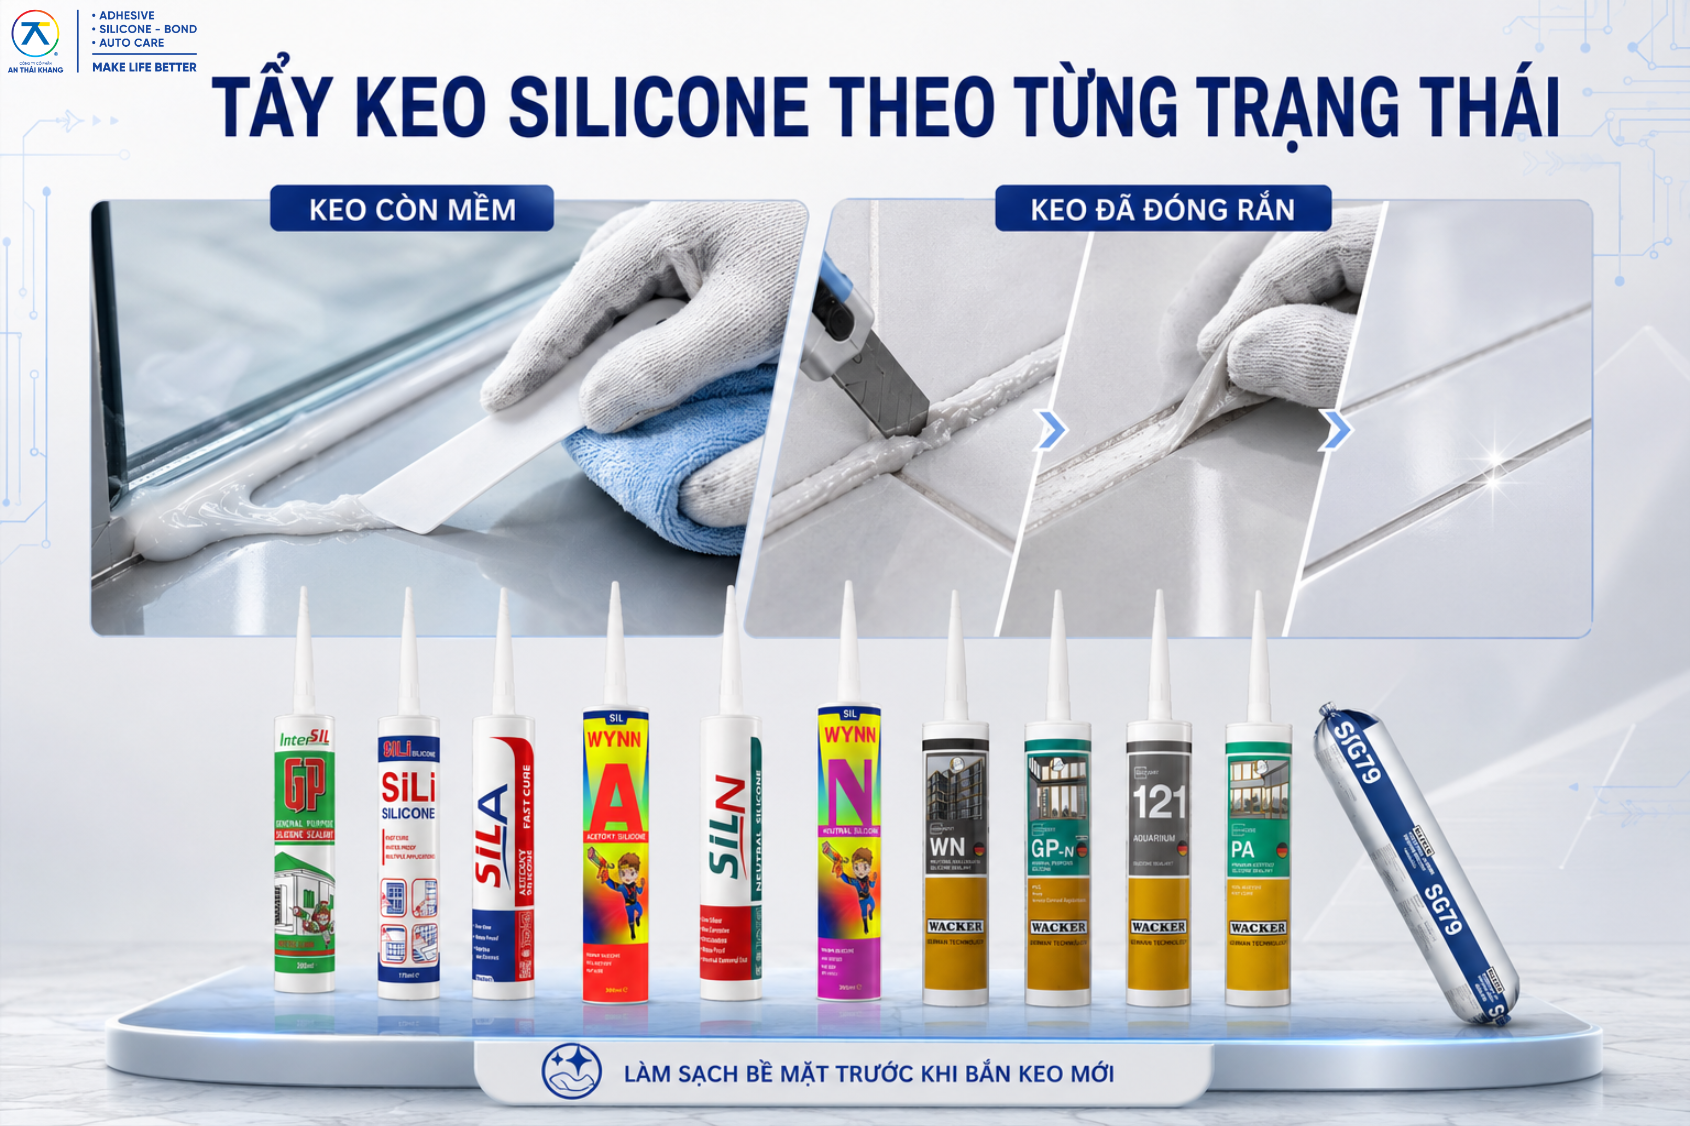
2.1. When the Silicone Is Still Soft
For freshly applied silicone that has spread beyond the joint, first remove the larger amount using a tooling stick, plastic tool, or cloth.
Avoid wiping aggressively back and forth, as this can spread the silicone into a wider, thinner film. Instead, collect the sealant in one direction and switch to a clean section of the cloth before continuing.
If a thin film remains on the surface, a cleaning agent suitable for the material may be used. Before applying solvents to plastic, painted surfaces, coated materials, or other sensitive substrates, test the cleaner on a small inconspicuous area to check compatibility.
Early removal is particularly useful on glass and ceramic tiles because excess sealant can be lifted away before it forms a firmly bonded rubber-like layer.
2.2. When the Silicone Has Fully Cured
Cured silicone sealant requires a different removal method.
First, use a knife or suitable scraper to cut along both edges of the silicone bead, then pull the main section of sealant out of the joint. On surfaces that scratch easily, use a plastic tool whenever possible and work gently instead of applying a sharp blade directly to the finished surface.
Any thin silicone residue that remains can then be carefully scraped away or treated with a compatible silicone remover. Fully cured silicone generally requires mechanical removal, while specialized cleaning products can help deal with the residue left behind.
After removing the old sealant, clean away dust, grease, and other contaminants, then allow the surface to dry before applying a new silicone bead. This is important because the new silicone should bond directly to the substrate rather than to remnants of old sealant.
3. Reduce Silicone Smearing During Application
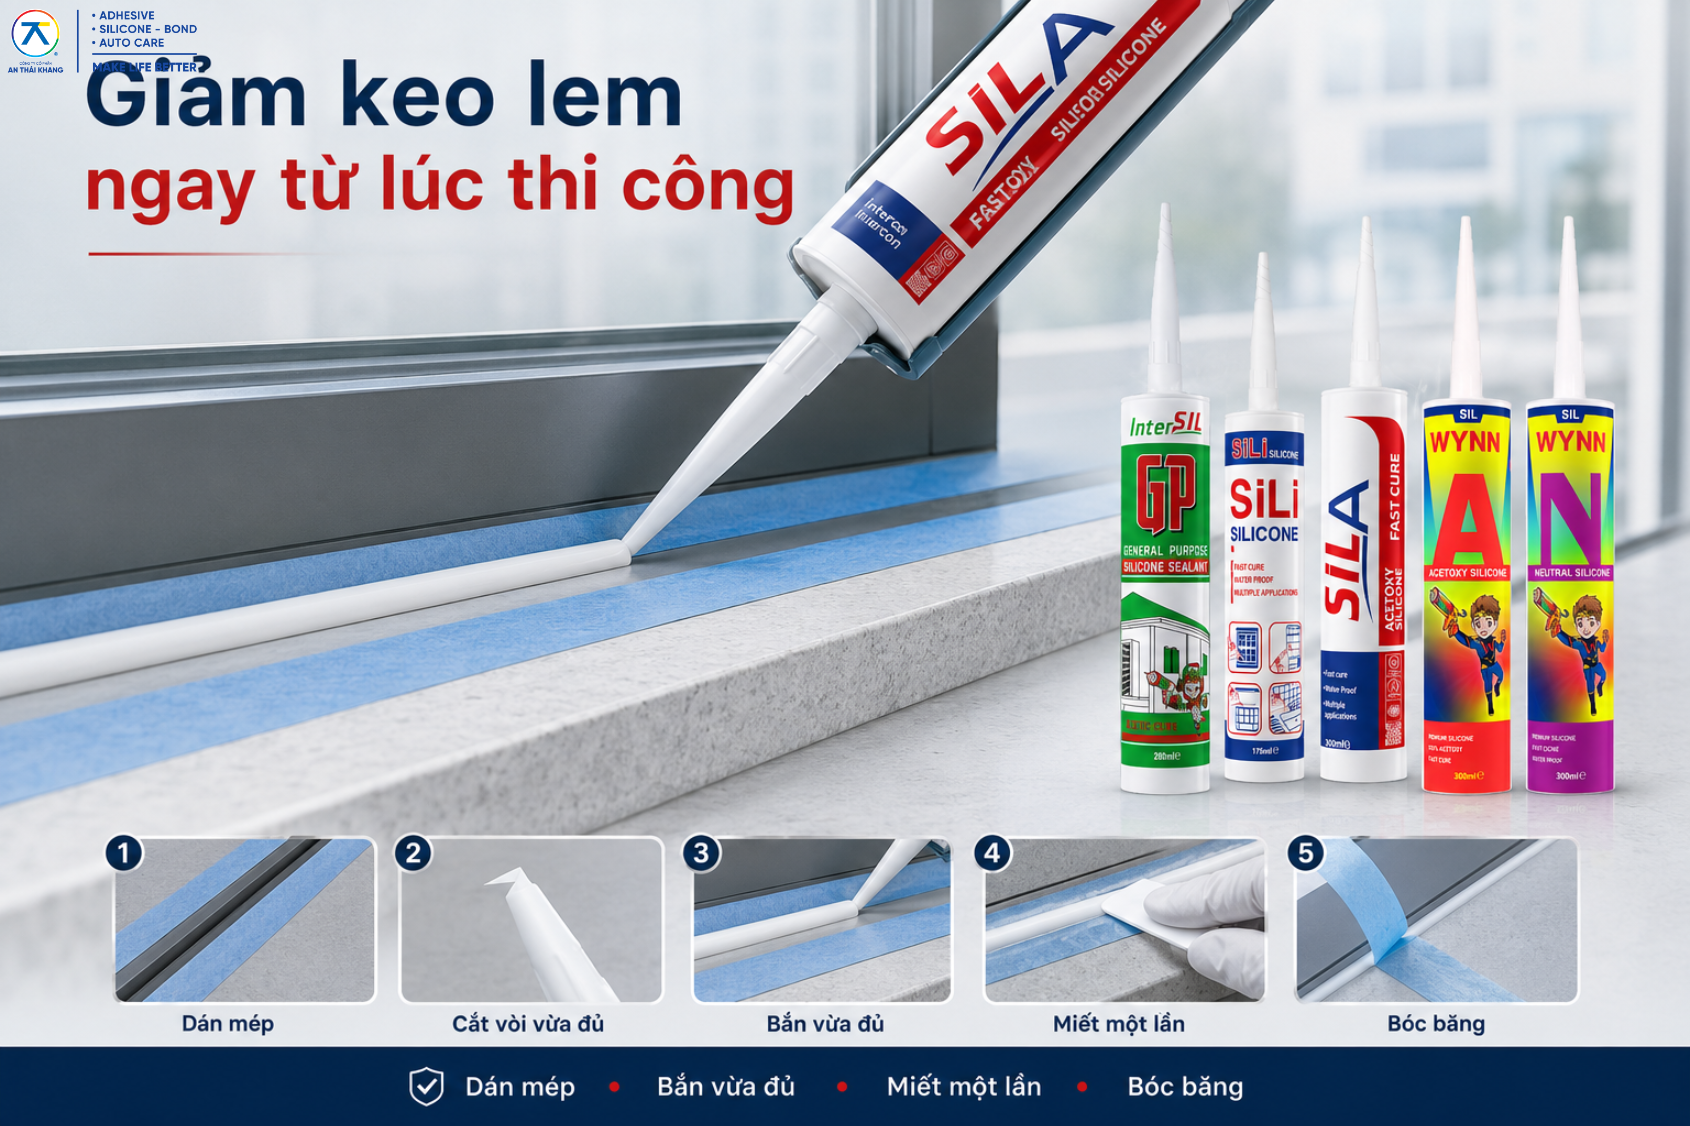
The easiest way to remove excess sealant is to minimize how much needs to be removed in the first place.
Before applying silicone, masking tape can be placed along both sides of the joint. The tape helps define the sealing area and is particularly useful on glass, aluminum frames, ceramic tiles, and other locations where a straight, clean joint is required.
The nozzle should also be cut to match the size of the joint. An opening that is too large can dispense too much sealant and cause overflow, while an opening that is too small may make it difficult to fill the joint properly. During application, maintain relatively consistent pressure and movement speed so the bead remains even in thickness.
After applying the silicone, tool the joint while the sealant is still within its working time. Smooth the bead decisively in one direction rather than repeatedly moving the tool back and forth. If masking tape is used, remove it before the silicone begins to form a skin so the edges remain clean and well defined.
A simple sequence to remember is:
Mask the edges → Apply the right amount → Tool once → Remove the tape → Clean the excess
This approach reduces cleanup time while also producing a cleaner finished joint. If you would like to learn more about cutting the nozzle, holding the sealant gun, and tooling the bead.
>>>See More: How to Apply Silicone Neatly and Test Silicone Properly
4. How Should Leftover Silicone Sealant Be Stored?
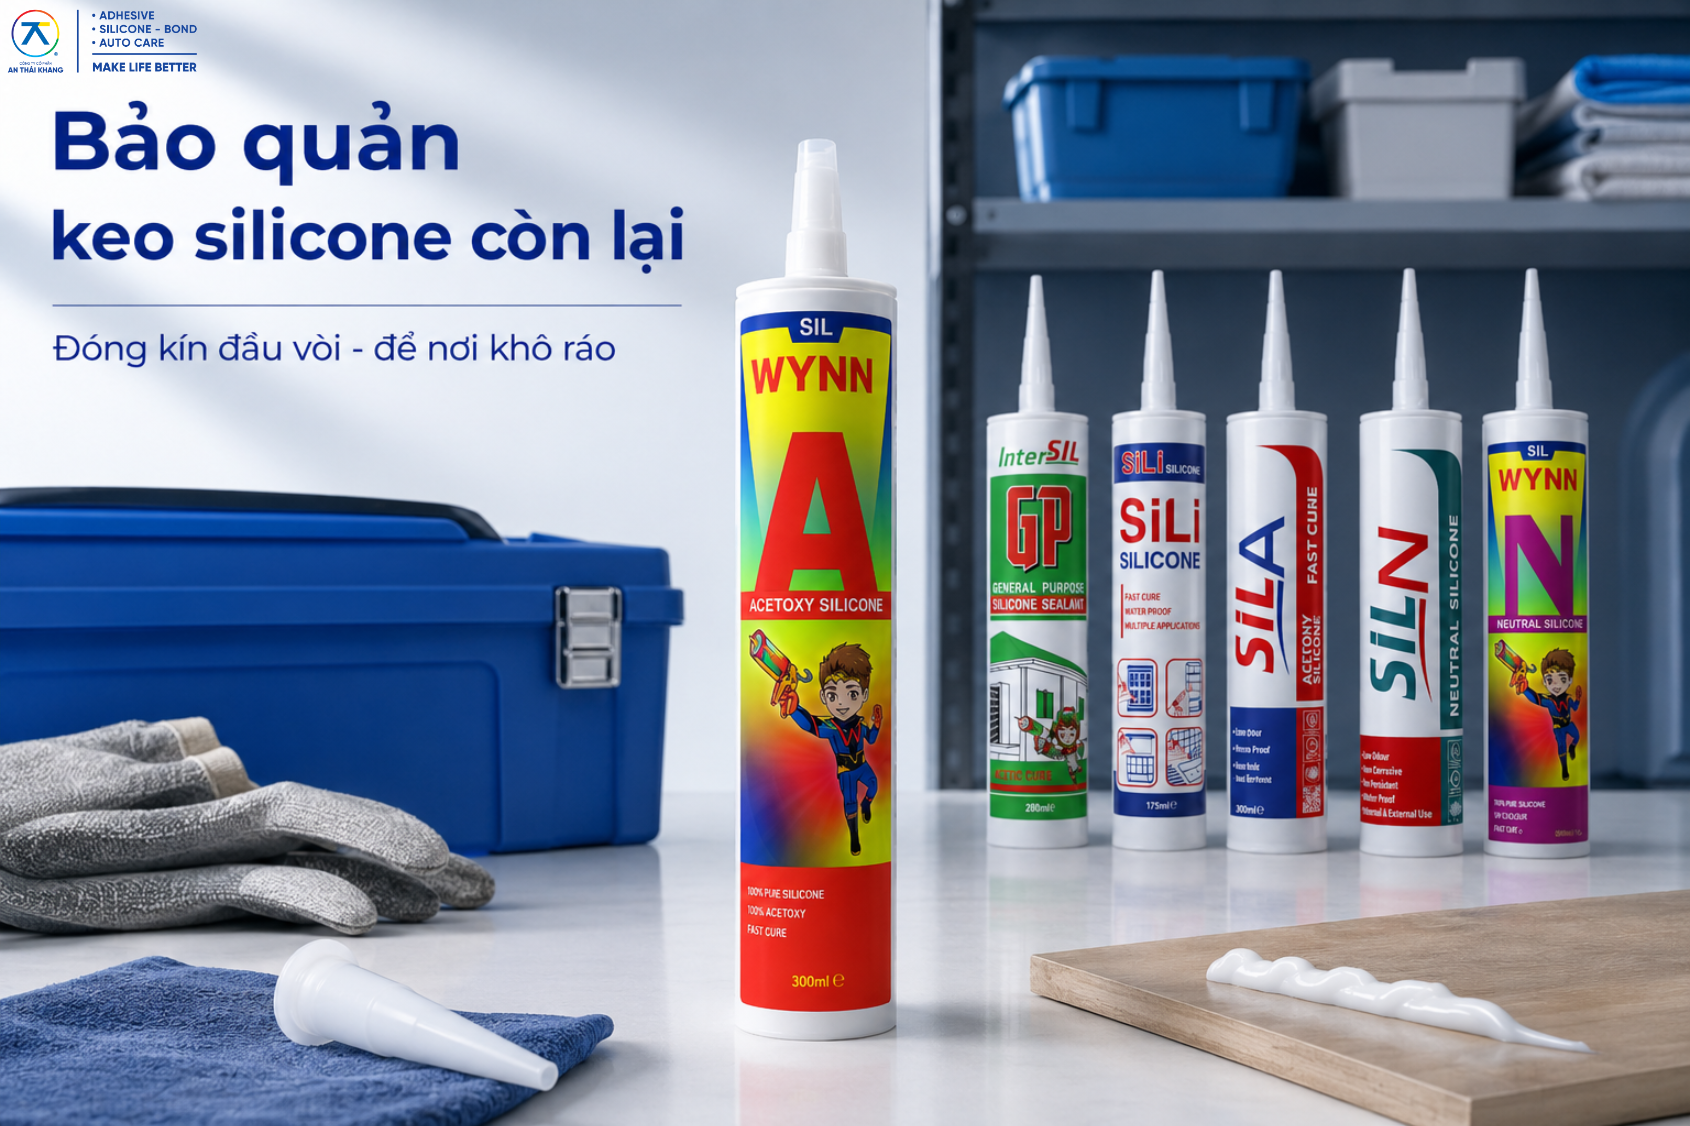
A partially used tube of silicone sealant can still be kept for the next application if prolonged exposure of the remaining material to air is minimized.
4.1. Clean and Seal the Nozzle
After use, wipe away any silicone remaining around the nozzle and close it tightly.
The most important point is to minimize direct exposure of the remaining sealant to air and moisture because one-component silicone cures through moisture in the atmosphere. If the nozzle is left open for too long, the silicone at the tip may begin to form a skin and cure.
If a section of silicone has already cured inside the nozzle from the previous use, remove it before applying the sealant again. Avoid forcing the gun excessively, as this can create unnecessary pressure inside the tube.
4.2. Choose a Suitable Storage Location
Silicone sealant should be stored in a dry, cool, and well-ventilated place away from direct sunlight and heat sources. Stable storage conditions help keep the sealant in good condition before the next use.
Do not leave silicone outdoors, in areas that regularly become hot, or near heat and ignition sources.
The original packaging and product label should also be kept intact so that the expiration date and usage instructions can be checked before the product is used again.
4.3. Check the Sealant Before Reuse
Before the next application, dispense a small test bead.
The silicone should extrude relatively smoothly without unusual signs such as lumps or difficulty flowing. Testing first also confirms that the nozzle is clear and that the bead size is still suitable for the application.
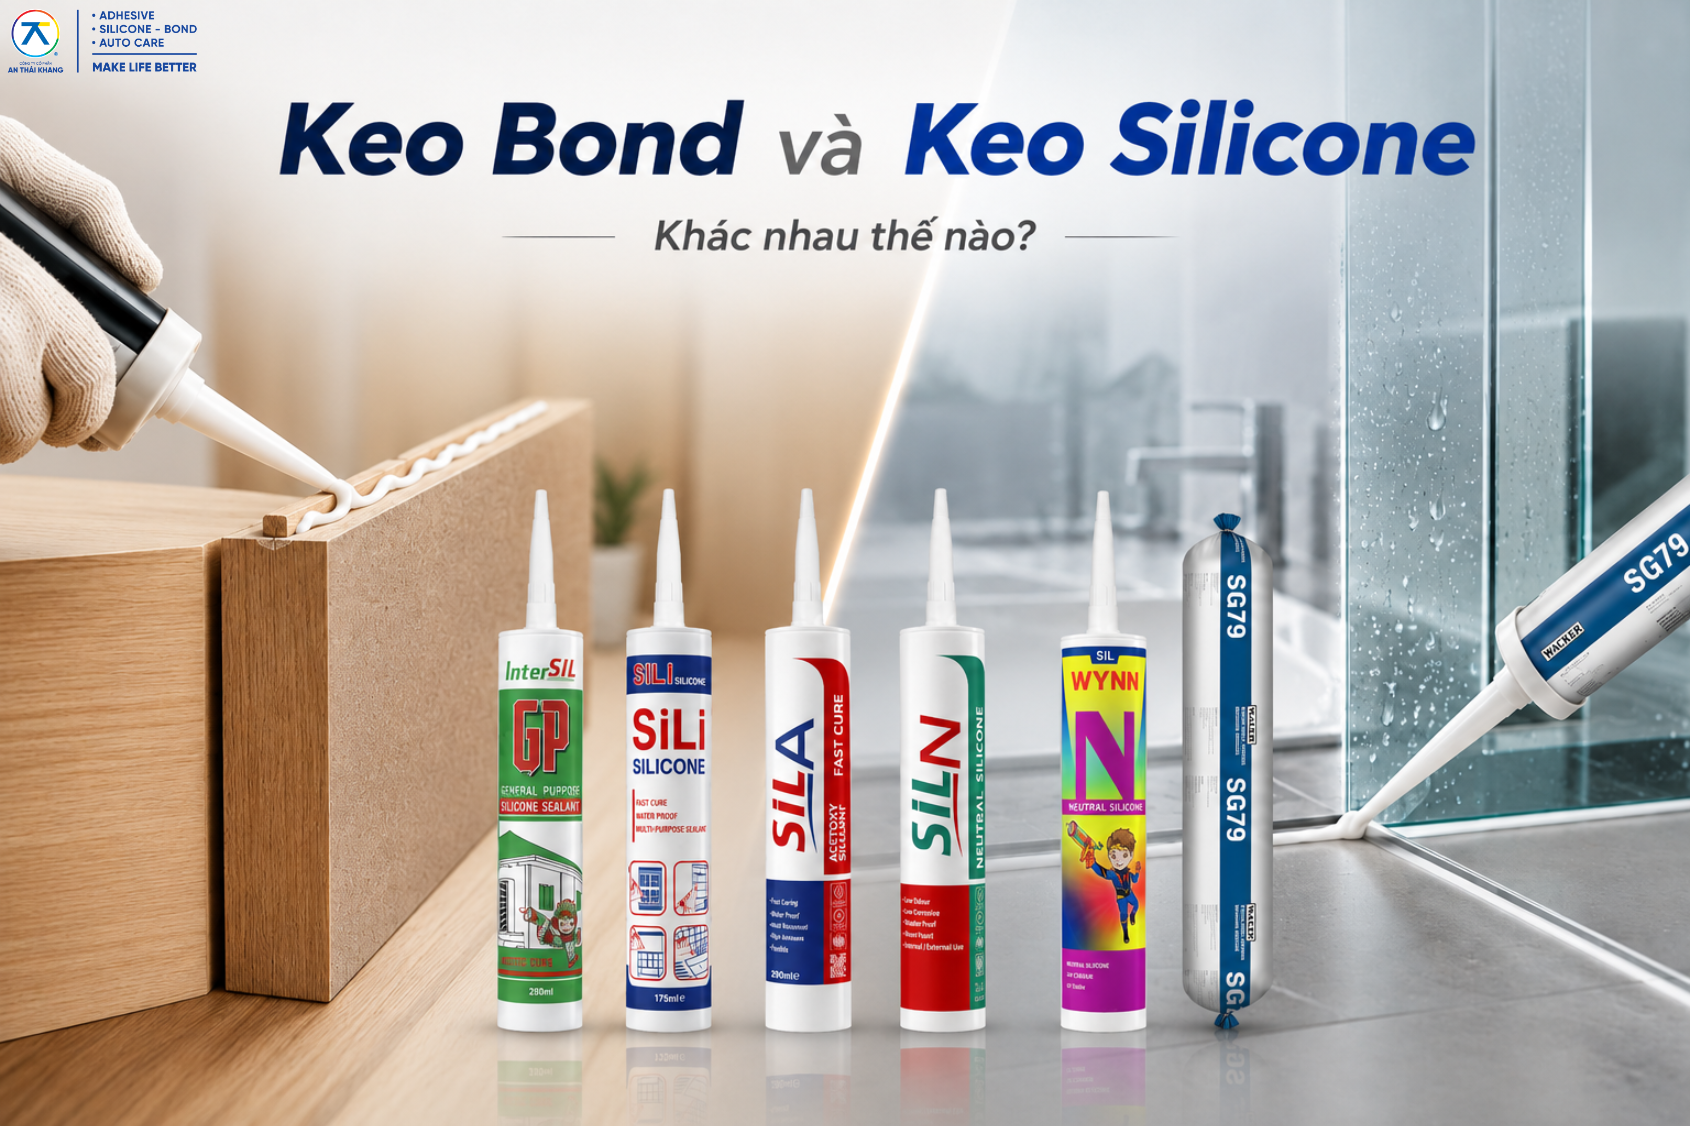
If a new product is required for a specific project, you can browse the range of silicone sealants available from An Thai Khang. The category includes acid-cure silicone, neutral-cure silicone, and WACKER Silicone products, making it easier to select a suitable option for different applications.
5. Conclusion
Using silicone sealant neatly does not end once the bead has been applied. Removing excess sealant at the right time and storing the remaining product properly are also important steps in keeping the application process clean and convenient.
When silicone is still soft, remove smears and excess material immediately to avoid extensive scraping later. For fully cured silicone, first remove the main bead mechanically, then deal with any remaining residue using a method suitable for the specific surface.
After use, clean the nozzle, seal the tube tightly, and store it in a dry, cool, and well-ventilated place away from sunlight and heat. Before using it again, simply check the condition of the sealant and dispense a short test bead.
The process can be remembered simply as:
Apply neatly → Clean early → Prepare the surface → Seal tightly → Store properly
These small steps help maintain the appearance of the silicone joint while also reducing unnecessary waste from partially used sealant tubes.
AN THAI KHANG JSC
- • Fanpage: An Thái Khang JSC
- • Hotline: 0764 644 245
- • Email: support@anthaikhang.com
- • Website: https://anthaikhang.com/