
Spray Paint for DIY Projects: A Simple Way to Refresh Old Items
Discover how to use spray paint for DIY projects, restore old items, and decorate your living space. Learn how to apply MIRA Spray Paint correctly for a smooth, attractive, and safe finish.
DIY projects do not necessarily require complicated machinery or advanced technical skills. With a few old items, a creative idea, and a suitable can of spray paint, you can refresh household objects, change their colours, or create distinctive decorative accents for your living space.
Compared with brushes or rollers, spray paint allows for faster application, reaches small corners more easily, and minimises visible brush marks. It is a suitable solution for DIY projects such as painting photo frames, small shelves, plant pots, decorative objects, models, or faded interior details.
1. Why Is Spray Paint Suitable for DIY Projects?
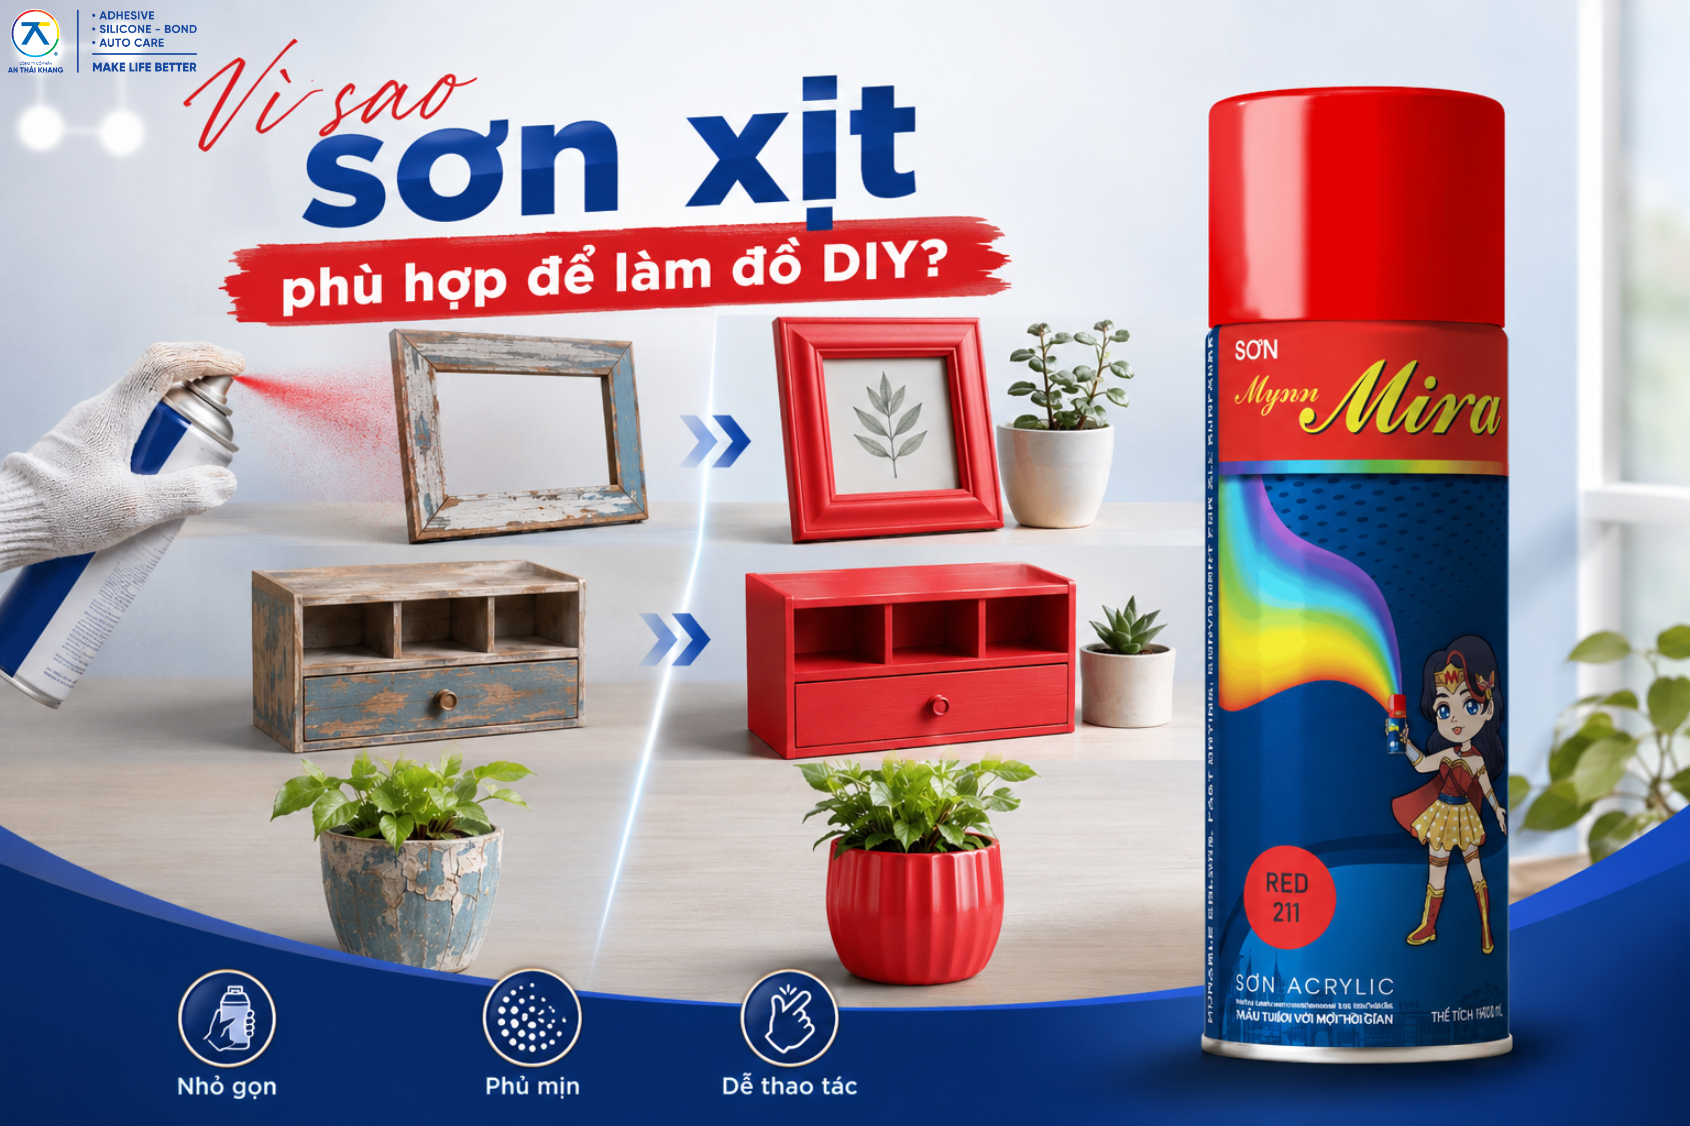
Spray paint is packaged in a pressurised aerosol can and can be applied directly to a surface without requiring brushes, paint trays, or specialised spray equipment. Its compact design makes it easier to control the spray direction, work on small details, and complete projects within a short period.
For DIY projects, one of the key advantages of spray paint is its ability to transform the appearance of an item without requiring extensive disassembly. An old shelf, a plain picture frame, or a faded plant pot can all be refreshed with a new colour.
When sprayed from the correct distance and applied using steady hand movements, the paint can create a smooth coating, reduce visible application marks, and cover edges and corners effectively. Beginners can also use spray paint after testing it on a piece of cardboard or a sample material.
In addition to its decorative function, the paint layer can help conceal minor scratches, refresh the surface, and provide a degree of protection for certain materials against environmental effects.
You can learn more about the characteristics, uses, and selection criteria in the article What Is Spray Paint? Uses and How to Choose the Right Product.
2. DIY Project Ideas Using Spray Paint
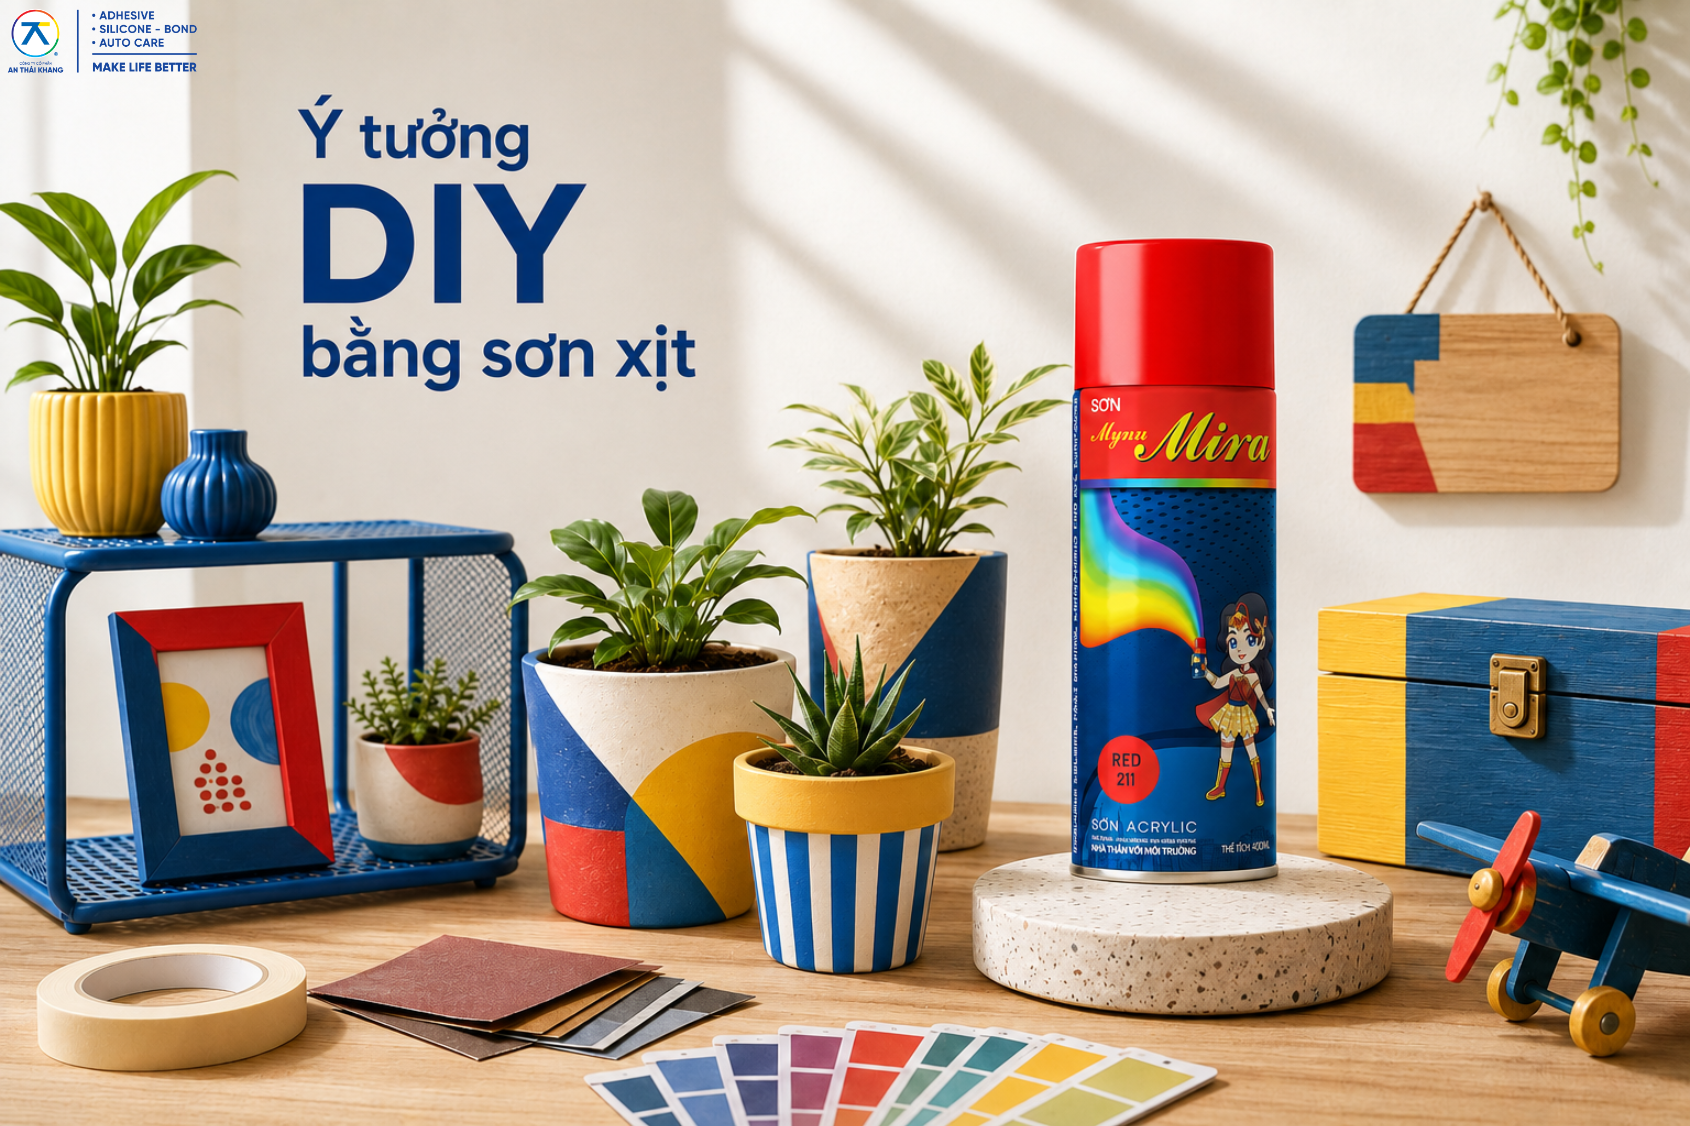
The ability to work on a wide range of surfaces makes spray paint suitable for many different DIY styles. Before starting, identify the material of the item, select an appropriate colour, and test the paint on a small area to evaluate adhesion and the final colour effect after drying.
2.1. Refresh Shelves, Picture Frames, and Small Furniture
Metal shelves, picture frames, table legs, and metal chairs often become scratched or faded after extended use. If their structures remain strong, you can clean the surfaces, sand them lightly, and apply a new colour instead of purchasing replacements.
White, black, grey, or cream shades work well in minimalist interiors. Meanwhile, yellow, red, blue, or metallic effects can be used to create visual highlights in a workspace, living room, or display area.
For wooden items, remove dust, grease, and any peeling old paint. The cleaner and smoother the surface, the more evenly the new paint will be applied.
2.2. Decorate Plant Pots and Handmade Items
Plant pots made from plastic, concrete, ceramic, or composite materials are easy to incorporate into DIY projects. You can combine two colours, create geometric sections, or use masking tape to divide the surface into different areas before spraying.
Some simple ideas include:
Applying one solid colour to refresh an old plant pot.
Creating stripes or colour blocks using masking tape.
Painting the bottom section of the pot in a contrasting colour.
Using stencils to create letters, symbols, or patterns.
Matching the pot colour with a shelf, table, or the wall behind it.
When decorating small items, apply several thin coats. This method provides better colour control and reduces the risk of paint runs around curved areas or edges.
2.3. Create Personalised Models and Decorative Items
Spray paint can also be used to finish models, small signs, storage boxes, handmade products, or themed decorative accessories. Users can combine multiple colours to create gradients, contrasts, or a coordinated look that matches the style of a room.
When applying several colours to the same item, allow the first colour layer to stabilise before masking and applying the next one. Masking tape should be pressed firmly along the edges to create clean colour separation, but it should not be pressed too hard onto paint that has not fully dried.
In addition to these ideas, you can explore Six Outstanding Applications of MIRA Spray Paint to select a suitable project based on the item and your actual restoration needs.
3. Why Is MIRA Spray Paint Suitable for DIY Projects?

MIRA Spray Paint is a one-component, solvent-based coating formulated with Acrylic Polymer resin. It can be used directly without mixing with a hardener or additional solvent, making it suitable for small decorative and repair projects at home.
Its compatibility with multiple surfaces is a notable advantage for DIY users. The product can be applied to metal, wood, plastic, concrete, composite materials, fabric, ceramics, leather, and paper. Users can therefore use the same spray paint range for various items without preparing a complicated set of painting tools.
MIRA creates a smooth paint film with good adhesion, high coverage, and fast drying under normal conditions. Its surface-drying time of approximately 5–10 minutes reduces the waiting period between coats, which is particularly useful for projects involving multiple colours or detailed finishing.
The colour range includes both gloss and matt finishes to suit different decorative styles. Gloss finishes create a more striking appearance and attract attention, while matt finishes are suitable for minimalist decorations and modern interiors.
The product does not contain lead or mercury. However, as it is still a solvent-based paint packaged in a pressurised can, users must work in a well-ventilated area and follow all relevant safety instructions.
To assess the product based on factors such as adhesion, drying speed, coverage, and compatibility with multiple materials:
Read the article The Best Spray Paint Available Today: Should You Choose MIRA?
4. How to Use Spray Paint Correctly for DIY Projects
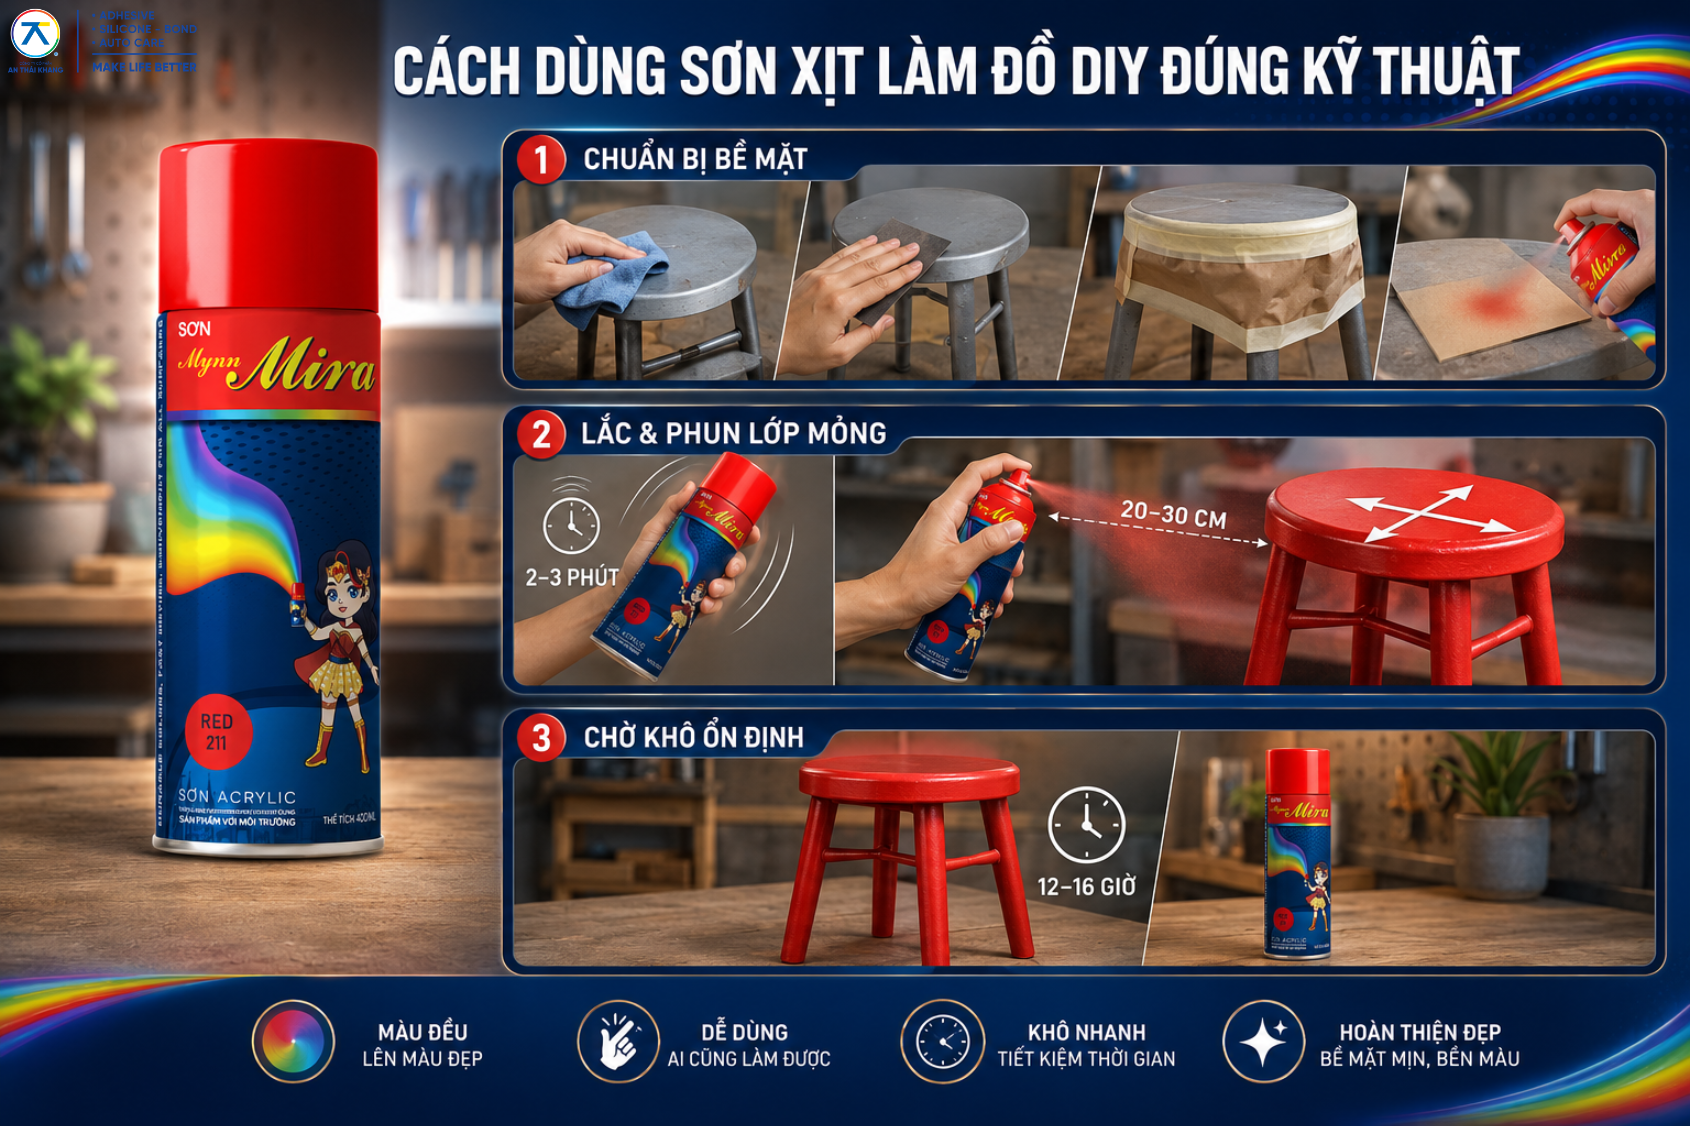
Choosing a suitable product alone is not enough to create an attractive finish. The quality of the final result also depends on surface preparation, spraying distance, hand movement, and the waiting time between coats.
4.1. Prepare the Item and Painting Surface
First, identify the material and condition of the item. The surface must be clean, dry, and free from dust, grease, and peeling old paint.
For rusty metal, use sandpaper or an appropriate tool to remove the rust before spraying. For wood, lightly sand the surface to smooth scratches and improve the adhesion of the new paint layer.
Any parts that do not need to be painted should be removed or covered with masking tape and paper. Protect the work area with a tarpaulin, cardboard, or newspaper to prevent overspray from reaching the floor and surrounding objects.
Before painting the entire item, test the colour on a small hidden area or a sample made from a similar material. This step allows you to check the actual colour, adhesion, and the way the surface reacts to the paint.
4.2. Shake the Can and Apply Several Thin Coats
Shake the MIRA Spray Paint can thoroughly for approximately 2–3 minutes so that the mixing ball inside moves freely and the components are evenly dispersed.
During application, hold the can approximately 20–30 cm away from the surface. Move your hand continuously at a steady speed. You may apply the paint in a crosshatch pattern to distribute the coating more evenly.
Do not hold the nozzle over one area for too long. Excessive paint concentration can create droplets, cause runs, or extend the drying time. Instead of trying to achieve complete coverage in one application, spray two or three thin coats.
Wait approximately 5–10 minutes between coats to allow the surface to stabilise. Apply the next coat only when the previous layer is no longer excessively wet and the colour appears relatively even.
4.3. Allow the Paint Film to Stabilise Before Use
After finishing, place the item in a dry and well-ventilated area. Avoid touching, assembling, or placing objects on the painted surface before the coating has stabilised.
According to the product instructions, the item should be allowed to dry for approximately 12–16 hours before use. Components that are regularly exposed to impact or friction may require additional time for the paint film to achieve better stability.
After use, replace the cap and store the spray can in a dry, cool, and well-ventilated place away from direct sunlight, heat sources, and flames.
5. Important Precautions When Using Spray Paint for DIY Projects

One of the most common mistakes when using spray paint is holding the can too close to the surface. A short spraying distance concentrates too much paint in one area, which can cause runs and uneven colour. Conversely, spraying from too far away may cause the paint to disperse outside the target area, reduce coverage, and lead to unnecessary waste.
Do not skip surface cleaning. Dust, grease, moisture, and peeling old paint can all reduce the adhesion of the new coating. For items that have been used for a long time, carefully inspect corners, gaps, and areas that are frequently touched.
Additional precautions include:
Do not spray when the surface is damp or when the weather is excessively humid.
Do not use the product near cooking areas, open flames, electrical sparks, or high-temperature heat sources.
Wear a mask, gloves, and safety glasses during application.
Use the product only in a well-ventilated area and avoid directly inhaling paint vapours.
Do not puncture or burn the can, even when it is empty.
Avoid direct contact with the eyes and skin.
Keep the product out of the reach of children.
Do not apply one excessively thick coat in an attempt to reduce application time.
When painting plastic, leather, fabric, or surfaces with an existing specialised coating, testing the product on a small area is particularly important. Some smooth, flexible, or specially coated surfaces may produce different colours and levels of adhesion.
6. Conclusion
Spray paint is a practical solution for DIY projects because it can be applied quickly, does not require many tools, and works well on small objects or items with multiple edges and corners. From shelves, picture frames, and plant pots to models and decorative accessories, users can reuse items that are still in good condition and transform them into personalised products.
MIRA Spray Paint features a one-component formula made with Acrylic Polymer resin. It dries quickly and is suitable for many different materials. Its wide range of colours and surface effects makes it suitable for both restoring old items and creating original decorative designs.
To achieve a smooth, attractive, and durable finish, clean the surface thoroughly, shake the can well, maintain a spraying distance of 20–30 cm, and apply several thin coats. Users must also work in a well-ventilated area, avoid heat sources, and follow all safety precautions for pressurised spray paint cans.
Instead of discarding faded or outdated items, you can begin a simple DIY project and give them a completely new appearance. Explore MIRA Spray Paint from An Thái Khang to choose the colour and surface effect that best suits your creative idea.
AN THAI KHANG JSC
- • Fanpage: An Thái Khang JSC
- • Hotline: 0764 644 245
- • Email: support@anthaikhang.com
- • Website: https://anthaikhang.com/