
How to Repair Backpacks and Handbags with Peeling Glue at Home
A guide to repairing backpacks and handbags with peeling glue at home using Rồng Vàng Adhesive. Learn how to clean the surface, apply the glue, wait for it to dry, and press the surfaces together for a stronger, neater, and better-looking bond.
After a period of use, backpacks and handbags can easily develop peeling edges, loose lining, detached straps, cracked trim, or separation between the leather or synthetic leather layer and the inner base material. If the damage is not too severe, you can completely repair backpacks and handbags at home using a suitable adhesive, without having to take them to a repair shop right away.
For common glue-separation issues, Rồng Vàng Adhesive is an easy-to-use option for DIY repairs. It is a solvent-based yellow adhesive with high bonding strength, good elasticity, fast drying time, and is commonly used for bonding shoe leather, backpacks, wallets, handbags, belts, synthetic leather, foam, rubber, and some other interior materials.
1. When is it suitable to repair backpacks and handbags at home?
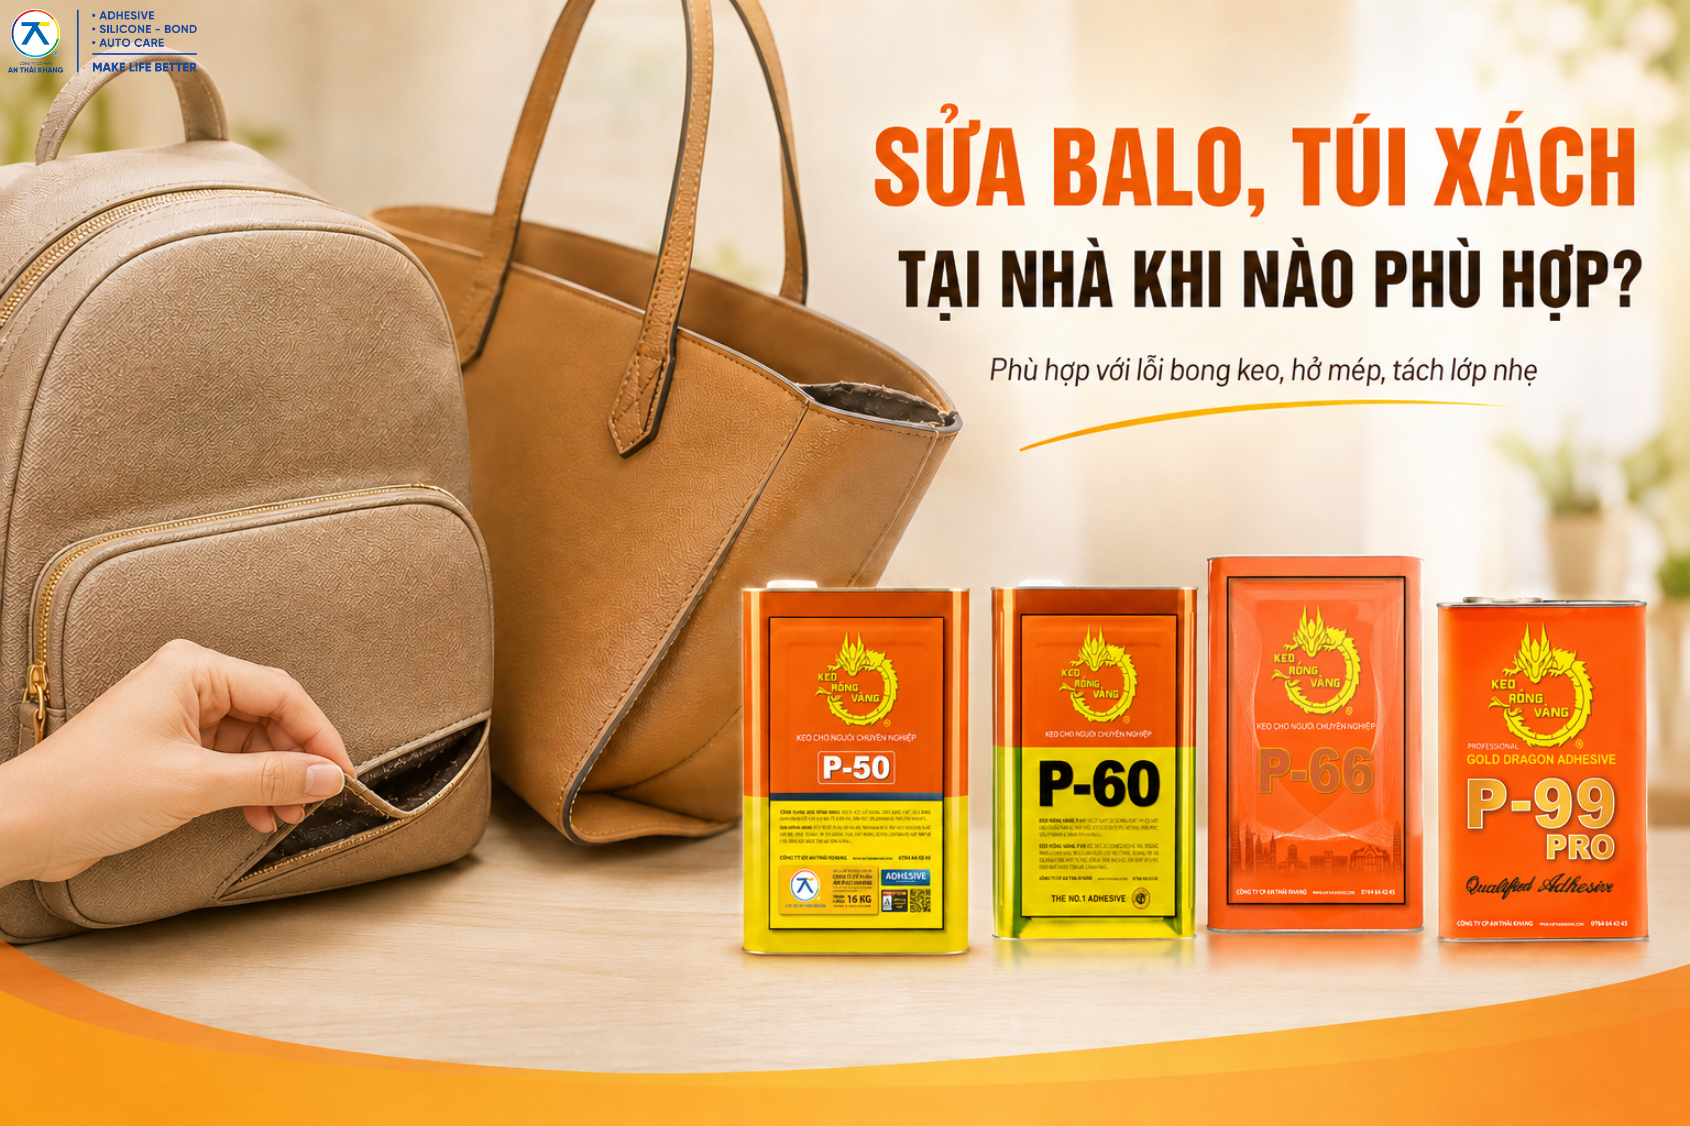
Not every backpack or handbag issue requires replacement. If the bag only has peeling glue along the edges, loose lining, detached trim, or slight separation between two material layers, you can repair it at home with adhesive. This method helps save costs, preserve your favorite item, and prevent the damaged area from spreading further.
Common areas that can often be re-bonded include the bottom edges of bags, flap edges, auxiliary straps, inner lining, backpack corners, synthetic leather edges, or decorative rubber parts. For high-stress areas such as severely torn main straps, damaged zippers, long broken seams, or deteriorated leather, you should reinforce the item with stitching or take it to a professional repair shop.
1.1. Common glue-separation issues
Backpacks and handbags often experience glue separation due to long-term use, water exposure, prolonged sun exposure, being stored in a hot motorbike trunk, or being stretched when carrying heavy items. Some bags made from synthetic leather, faux leather, or decorative rubber are also prone to layer separation when the old adhesive has aged.
When you notice a small peeling area, you should fix it early. If left untreated, dust and moisture can enter the gap, making the surface harder to bond and reducing the strength of the new adhesive layer.
2. Why use Rồng Vàng Adhesive to repair backpacks and handbags?
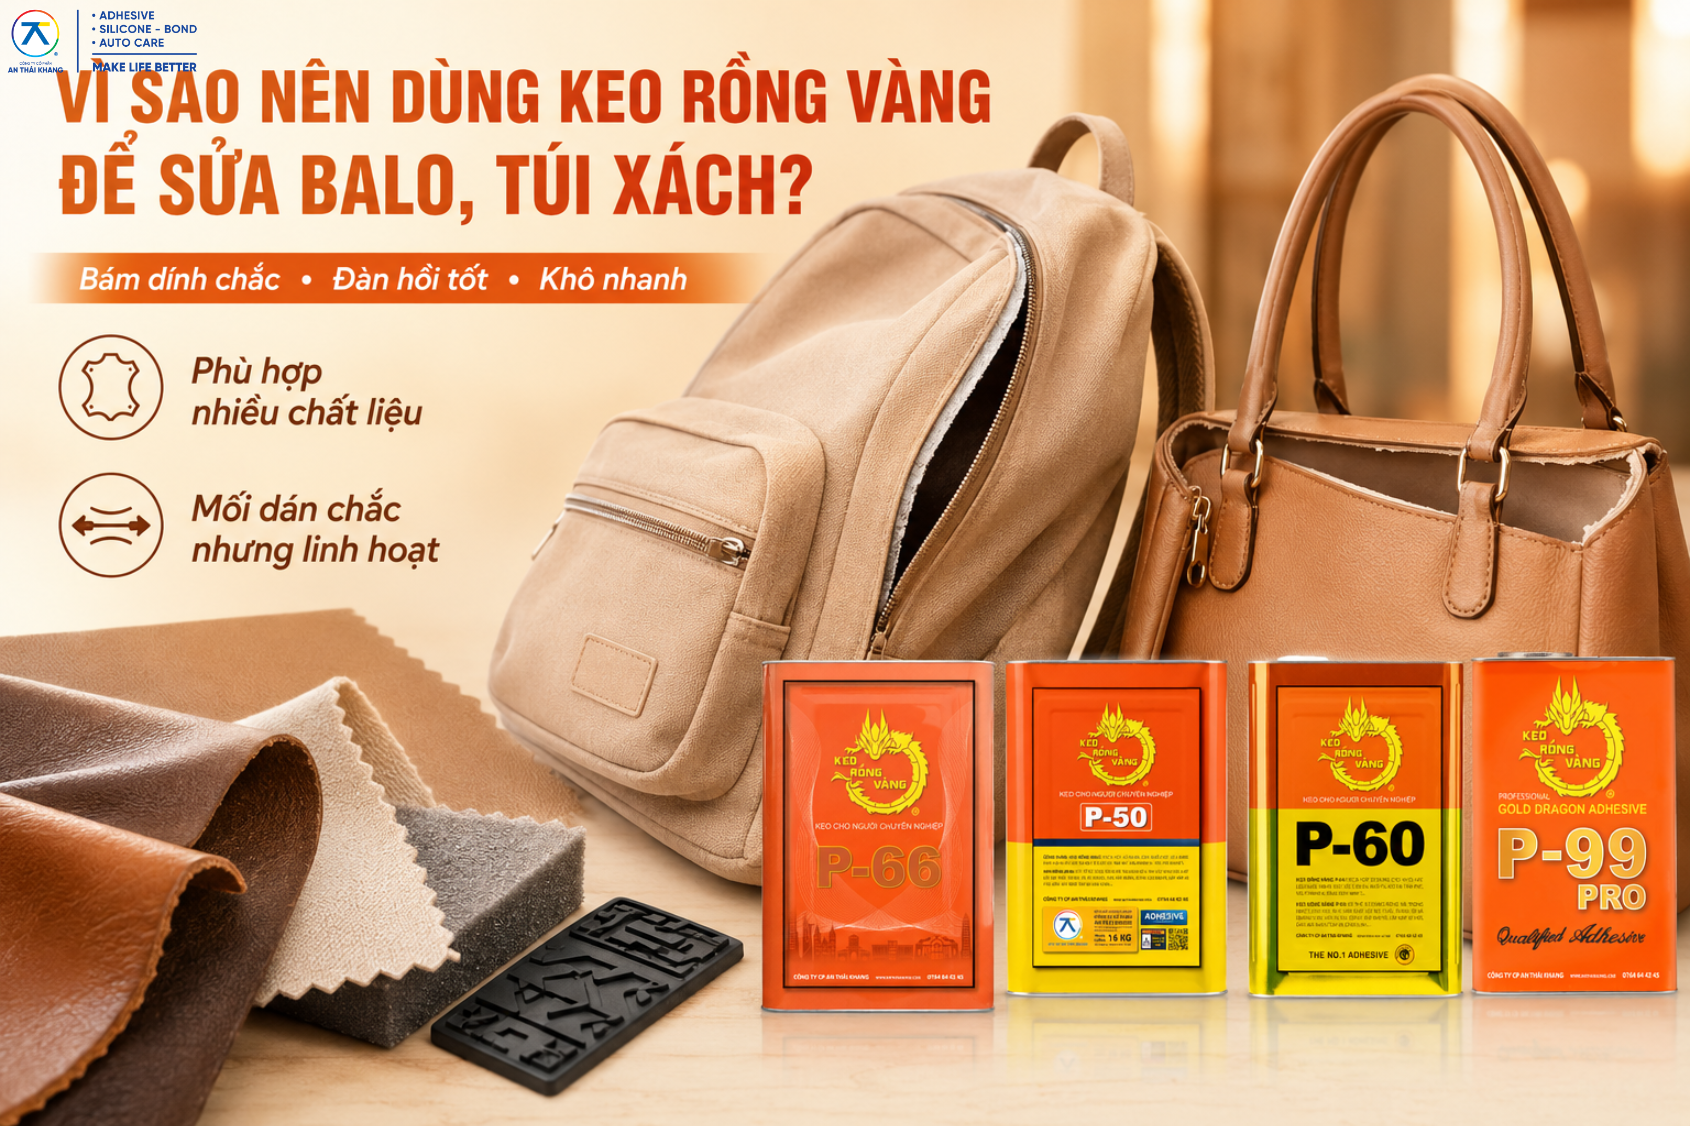
Rồng Vàng Adhesive is suitable for many manual bonding tasks because it can adhere to various materials and maintain elasticity after drying. Elasticity is very important when repairing backpacks and handbags, as bags are often bent, folded, pulled, and exposed to friction during use.
Rồng Vàng Adhesive products such as P-50, P-60, P-66, and P-99 are all solvent-based yellow adhesives with fast drying time, high bonding strength, and applications in the shoe leather, backpack, wallet, handbag, and belt industries.
2.1. Suitable for many common materials
When repairing handbags or backpacks, you may encounter many different surfaces such as leather, synthetic leather, canvas, padding foam, rubber, decorative plastic layers, or inner lining. Rồng Vàng Adhesive can be used on material groups such as shoe leather, synthetic leather, foam, rubber, wallets, handbags, and backpacks, making it suitable for many common glue-separation issues in everyday items.
2.2. The bond needs to be strong yet flexible
Handbags and backpacks do not stay fixed like furniture. When worn, carried, or unzipped, the bag surface is constantly being folded and lightly pulled. Therefore, the adhesive used to repair bags must not only bond strongly but also remain elastic to help reduce the risk of peeling again after a period of use. Rồng Vàng Adhesive products are known for high adhesion, good elasticity, fast drying time, and resistance to temperature and weather conditions in various usage environments.
3. Preparation before repairing backpacks and handbags with peeling glue
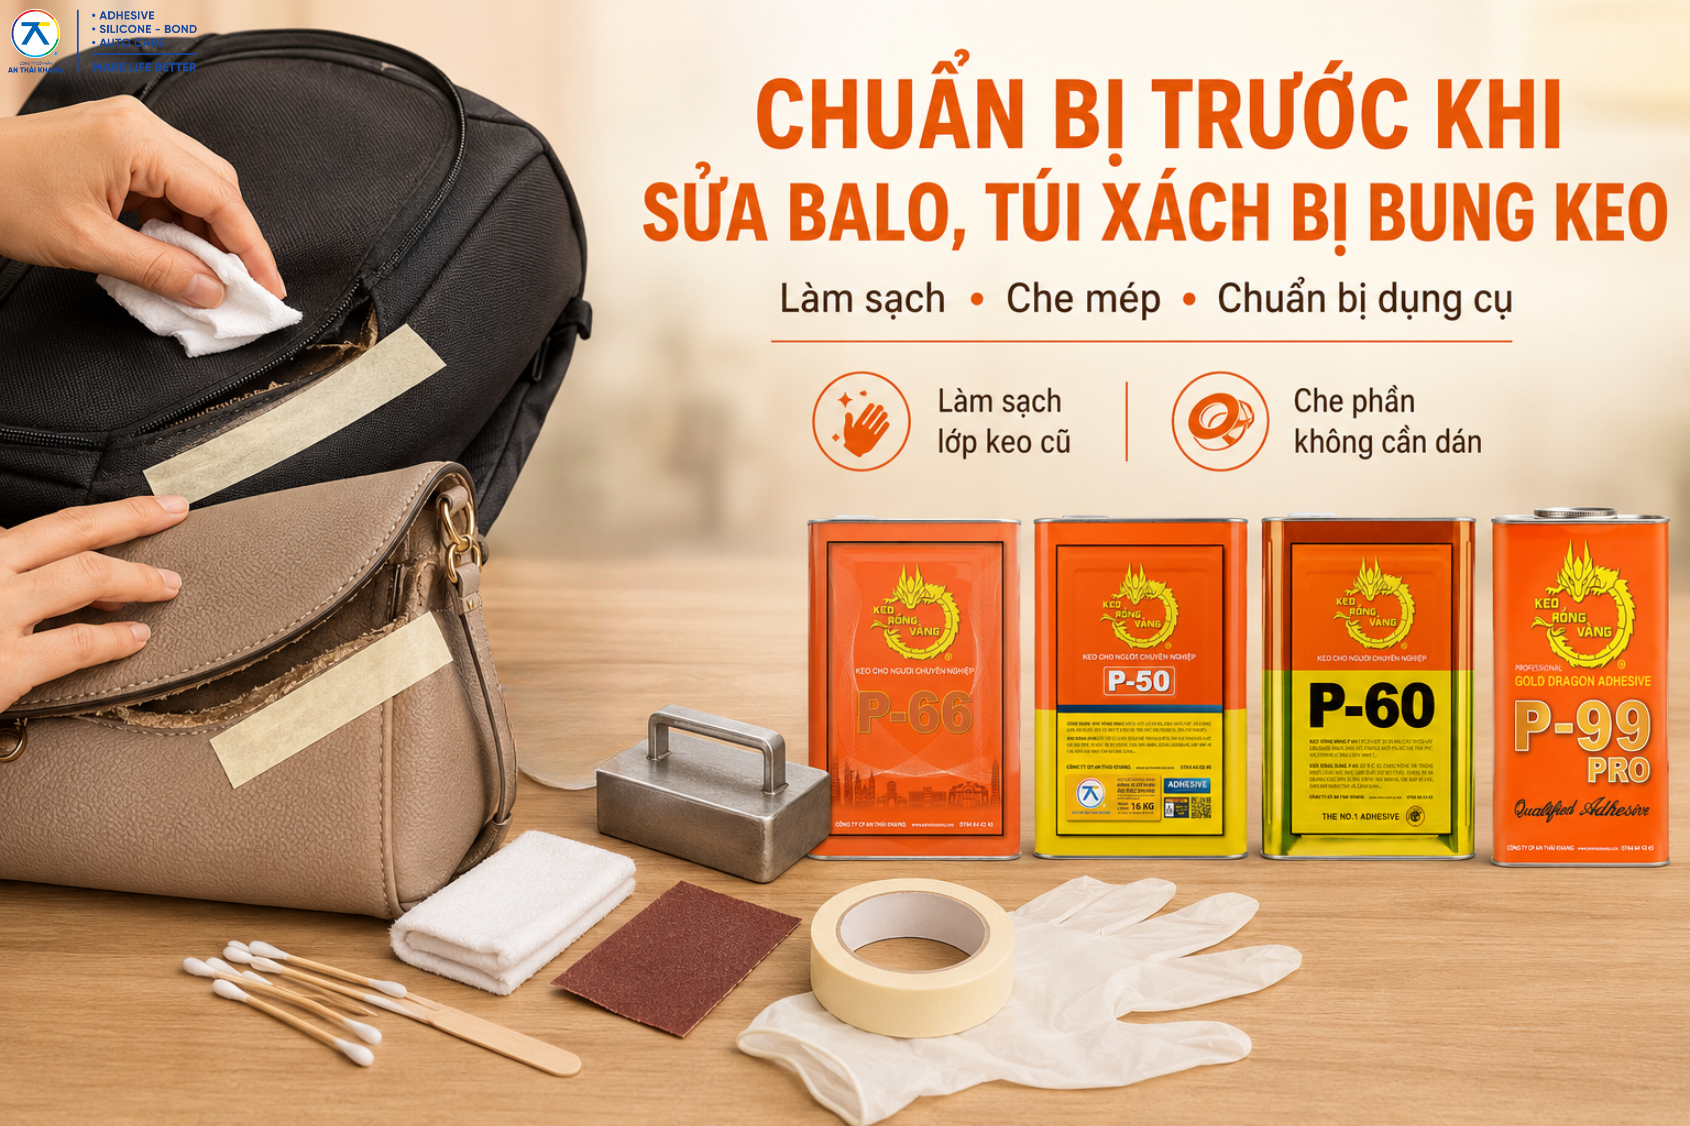
Before bonding, you need to prepare the right tools to make the repair cleaner, neater, and stronger. Recommended items include Rồng Vàng Adhesive, a dry cloth, cotton swabs or a small wooden stick, fine sandpaper, masking tape, gloves, a heavy object for pressing, and T-99 solution if you need to clean or dilute the adhesive.
Do not apply the adhesive immediately if the surface is still dusty, damp, or covered with old peeling glue. Whether the bond looks neat and holds well depends greatly on the cleaning and pressing steps, not just on the amount of adhesive used.
3.1. Clean off the old adhesive layer
Gently separate the peeled area by hand, then use a dry cloth to wipe away dust inside. If there are clumps of old adhesive, gently scrape them off with a wooden stick or fine sandpaper. Avoid using sharp tools, as they may tear the leather, scratch the synthetic leather, or damage the fabric lining.
The bonding surface must be dry and free from dust, grease, and impurities. This is also a recommended step in the instructions for using Rồng Vàng Adhesive to achieve better bonding performance.
3.2. Cover areas that do not need adhesive
For light-colored bags or surfaces that easily show adhesive stains, use masking tape to protect the areas around the repair edge. This helps prevent glue from smearing outward, especially when repairing bag trim, flap edges, or small backpack corners.
4 How to repair handbags and backpacks with peeling glue at home
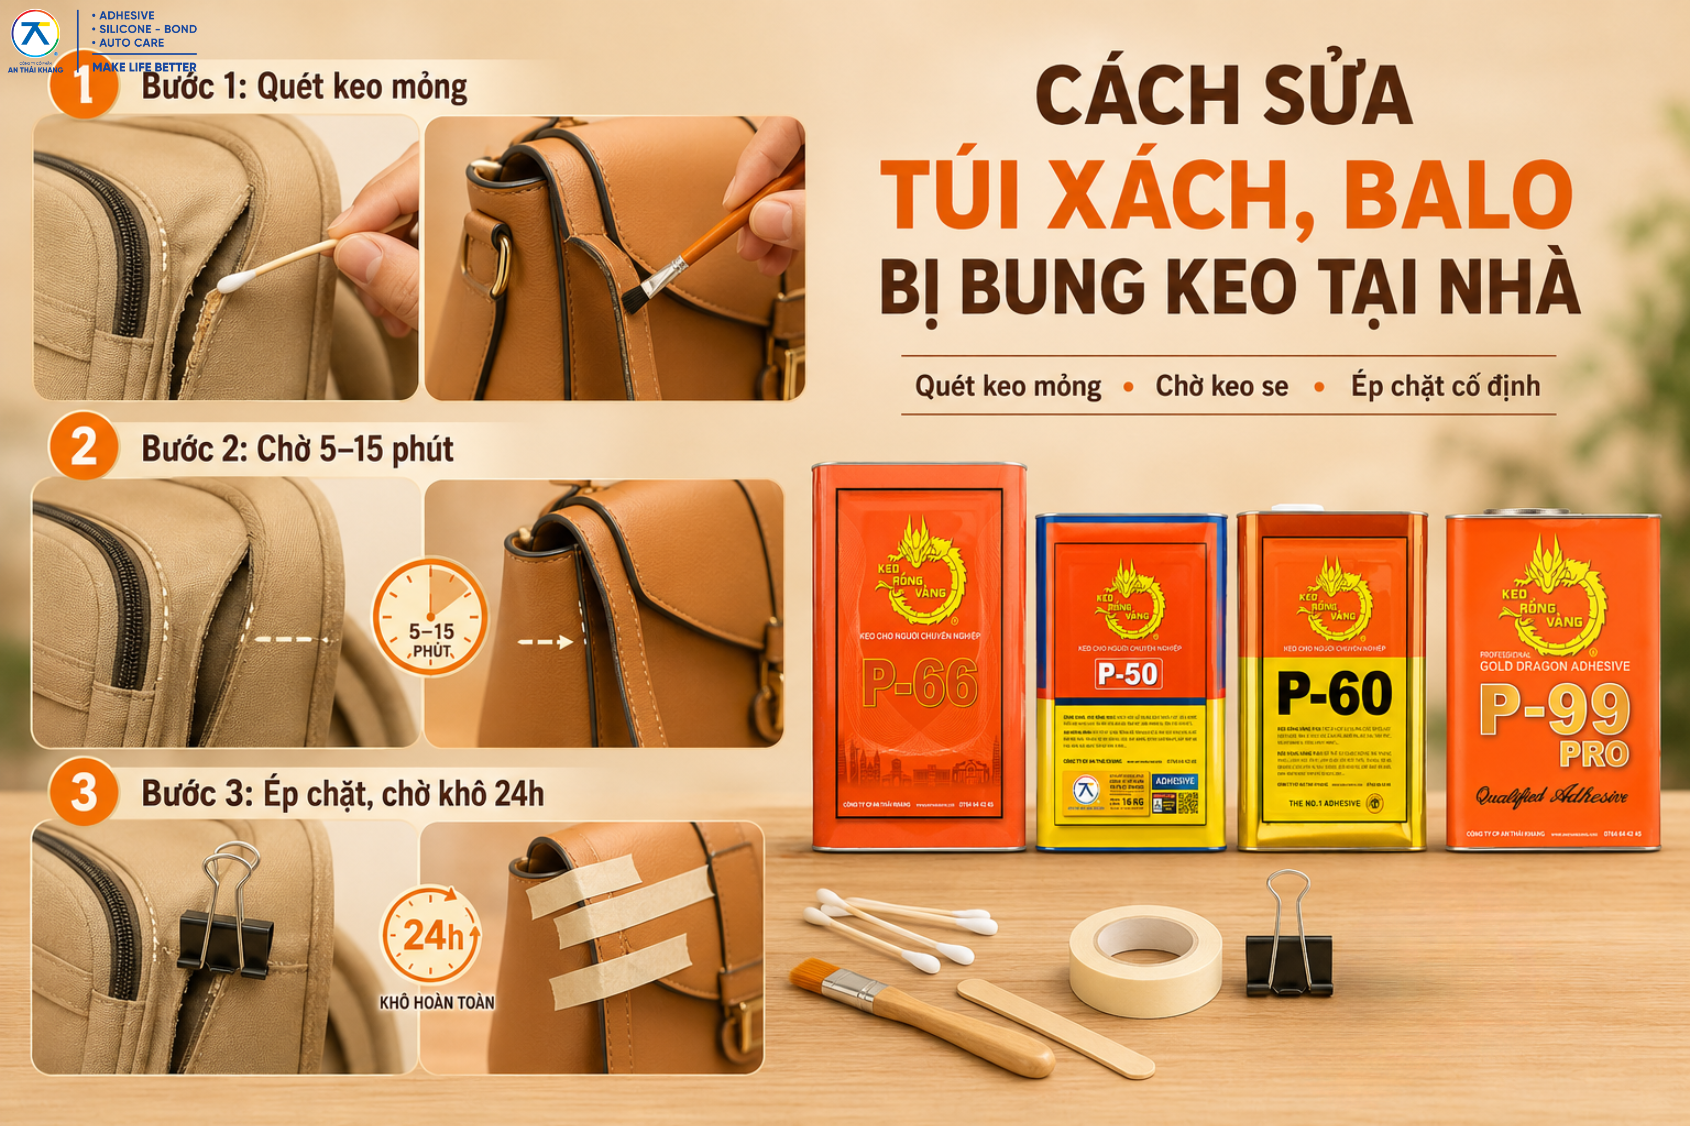
The bonding process is not too complicated, but it needs to be done in the right order. The key point is to apply a thin layer of adhesive to both surfaces, wait for the solvent to evaporate, and then press the two surfaces together. If you press them together while the adhesive is still too wet, the bond may take longer to dry, slip out of place, and fail to achieve good adhesion.
4.1. Step 1: Apply a thin layer of adhesive to both surfaces
Use a cotton swab, small wooden stick, or small brush to take a suitable amount of adhesive. Apply a thin and even layer to both surfaces that need to be bonded. Do not apply too much adhesive, as excess glue can spill over the edges, make the surface look messy, and take longer to dry.
For narrow gaps, you can use the tip of a small stick to push the adhesive deeper inside. For long bag edges, it is better to repair short sections at a time to better control the amount of adhesive.
4.2. Step 2: Wait until the adhesive becomes tacky
After applying the adhesive, do not press the two surfaces together immediately. Wait about 5–15 minutes for the solvent to evaporate, depending on the adhesive type and application conditions. Some products such as P-50, P-60, and P-99 recommend waiting 5–15 minutes, while P-66 recommends waiting 10–15 minutes before pressing the two surfaces together.
You can check by gently touching the outer edge with a small stick. When the adhesive has become tacky, is no longer too wet, and has a light stickiness, it is the right time to press the surfaces together.
4.3. Step 3: Press firmly and keep the area fixed
Align the two surfaces back to their original position, then press firmly by hand. For bag edges, you can use paper clips, wooden clips, or a heavy object to press them down. If you are bonding a curved area such as a backpack corner, hold it by hand for a few minutes and then secure it with masking tape.
The bond needs even pressure so the adhesive can grip properly. Avoid pulling, folding, or using the bag immediately after repair. Rồng Vàng Adhesive fully dries within 24 hours, so it is best to let the bag rest overnight before using it again.
5. Tips for a neater, cleaner, and longer-lasting bond
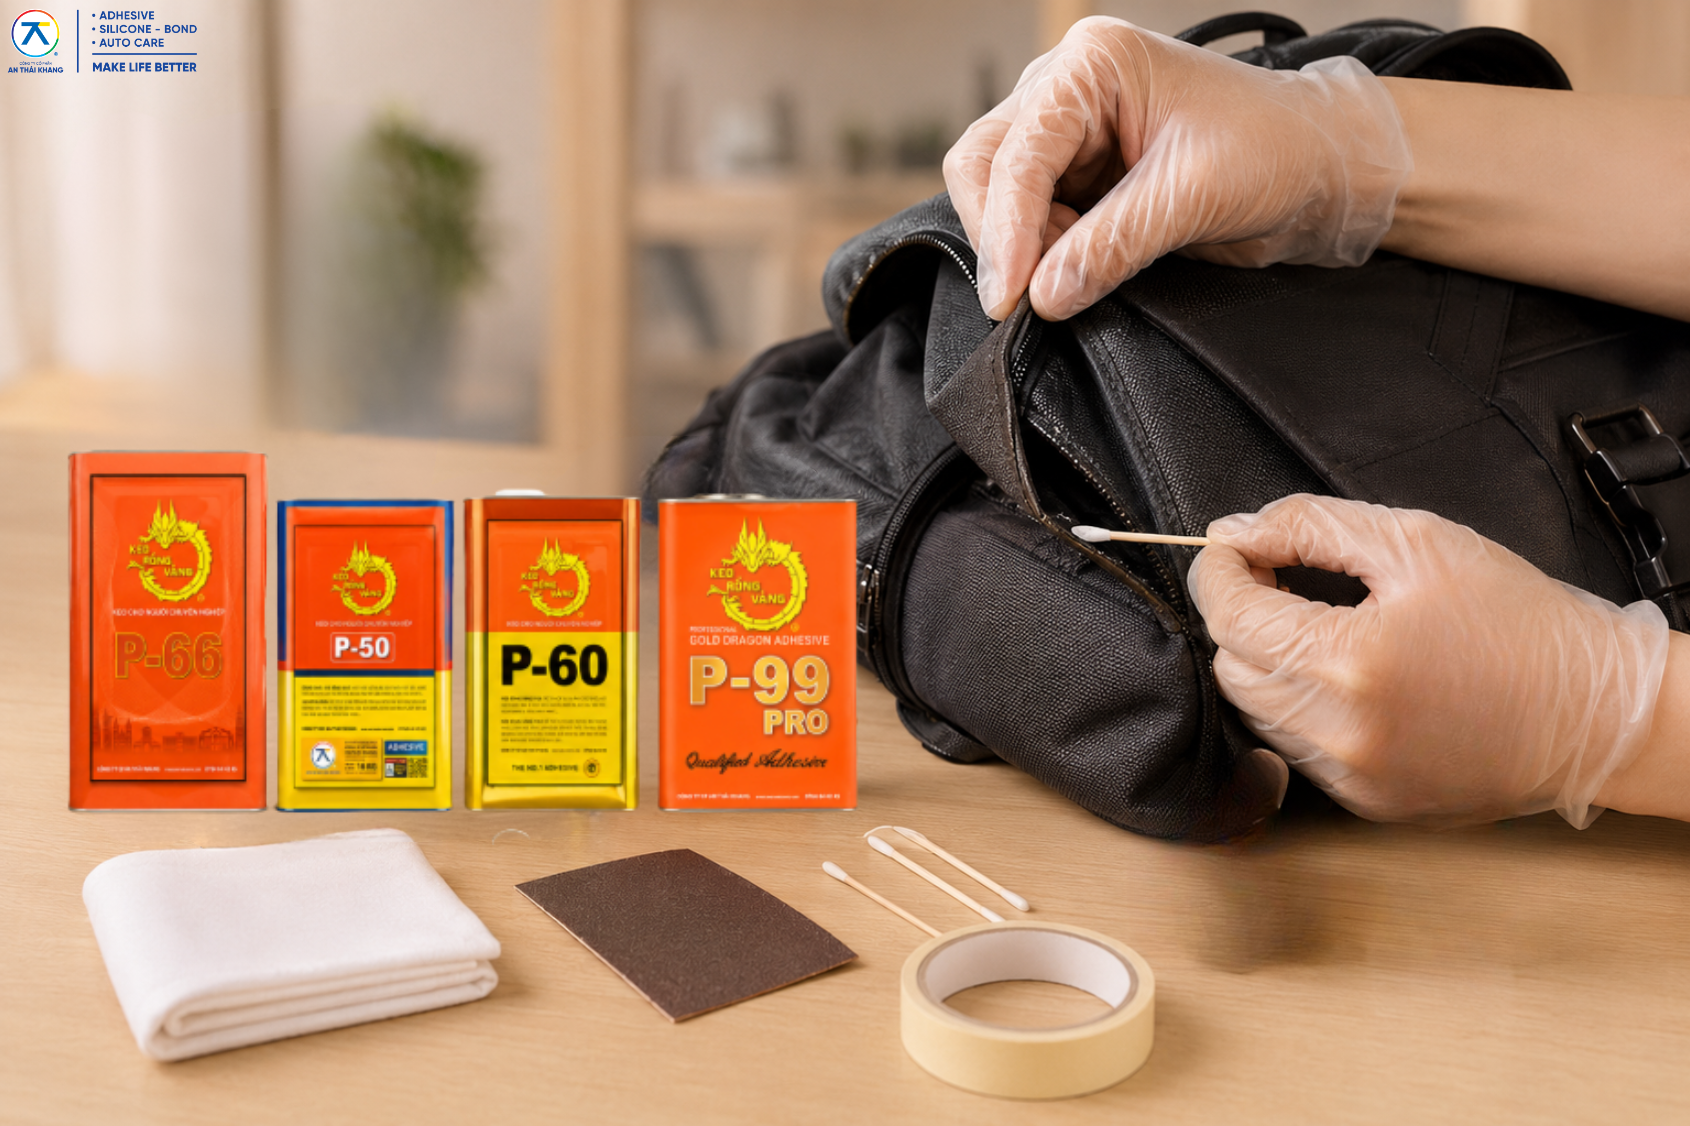
When repairing backpacks and handbags at home, do not focus only on sealing the peeled area. You also need to make sure the bond is not bulky, messy, or likely to peel again after just a few uses. To achieve this, the amount of adhesive must be moderate, the surface must be clean, and the waiting time must be correct.
For light-colored bags, test the adhesive on a small hidden area inside before applying it to the outer surface. For materials that are too thin or absorbent, apply a very thin adhesive layer to avoid staining or spreading. For long peeling edges, divide the repair into 5–10 cm sections to make it easier to align the edge and apply even pressure.
5.1. Do not use the bag immediately after bonding
After bonding, the bag may look as if it has already stuck together, but the inside of the bond still needs time to stabilize. It is best to leave the bag in a dry, well-ventilated place for about 24 hours, avoid placing heavy items inside, and avoid pulling strongly on the repaired area.
5.2. Trim or clean excess adhesive at the right time
If the adhesive smears outward while still fresh, you can carefully clean it with a suitable solution or T-99 as recommended for adhesive cleaning. If the adhesive has already dried, remove it very gently by hand or with a small stick. Avoid scraping too hard, as this may peel off the leather or synthetic leather surface. Rồng Vàng Adhesive also provides instructions for using T-99 solution to dilute or clean the adhesive when needed.
6. Safety notes when using adhesive to repair backpacks and handbags
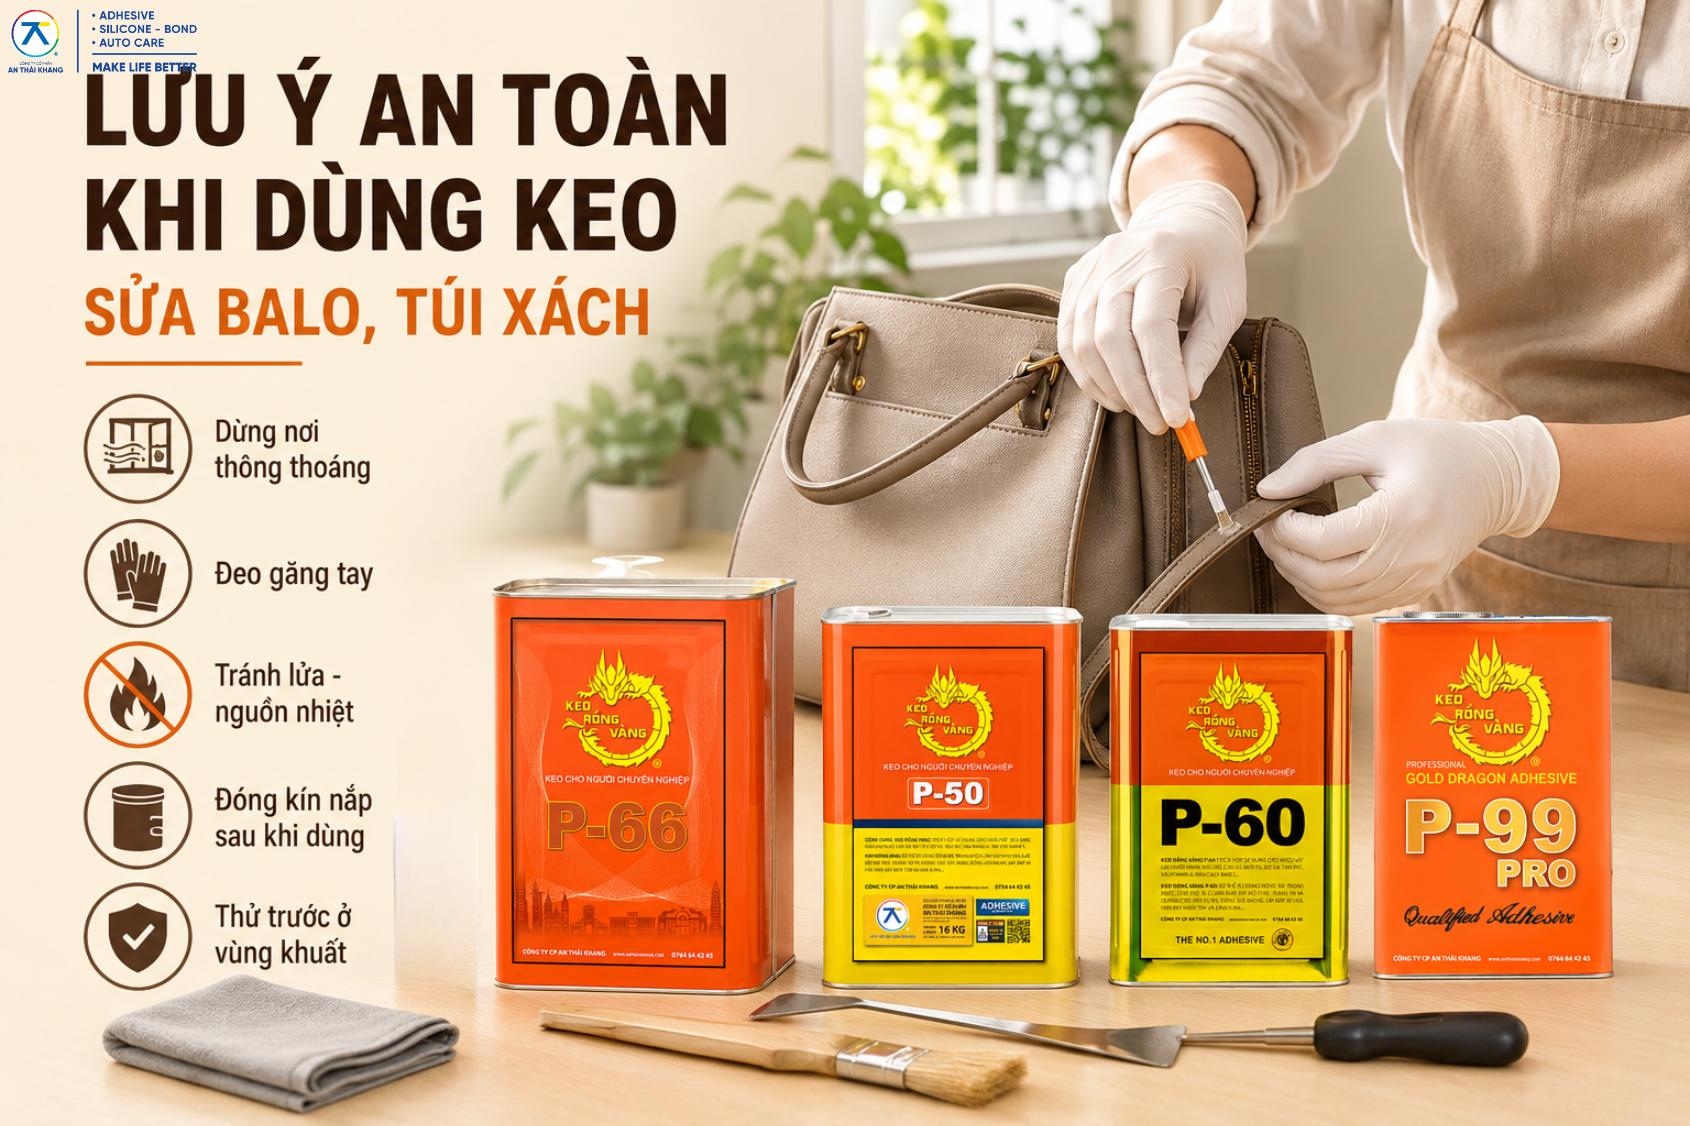
Solvent-based adhesive should be used in a well-ventilated area. During application, wear gloves, avoid getting the adhesive into your eyes, do not smoke, and keep the adhesive away from flames or heat sources. After use, close the cap tightly to limit solvent evaporation and store the product in a dry, cool, and well-ventilated place.
Do not use the adhesive near stoves, candles, cigarette ash, or high-temperature areas. If the adhesive gets on your hands, wipe it off as soon as possible and wash with soap. If it gets into your eyes, rinse immediately with clean water and visit the nearest medical facility.
For expensive bags, premium genuine leather bags, or large damaged areas, you should test the adhesive on a hidden area first. If the material has deteriorated, torn, or if a load-bearing strap is severely detached, adhesive should only be used as a supporting step and should not completely replace stitching reinforcement.
7. Conclusion
Repairing backpacks and handbags with peeling glue at home is not too difficult if the damage is still minor and you use the right adhesive. For issues such as peeling edges, loose trim, separated lining, or glue separation on synthetic leather areas, Rồng Vàng Adhesive can help create a stronger, faster-drying, and more flexible bond during use.
For a stronger and neater bond, follow the correct process: clean the area that needs bonding, apply a thin and even adhesive layer to both surfaces, wait until the adhesive becomes tacky, then press the two surfaces firmly together. After bonding, allow the backpack or handbag enough time to rest so the adhesive can stabilize. Avoid pulling strongly or using the bag immediately to help the bond achieve better durability.
AN THAI KHANG JSC
- • Fanpage: An Thái Khang JSC
- • Hotline: 0764 644 245
- • Email: support@anthaikhang.com
- • Website: https://anthaikhang.com/